Product photos for your webshop: an honest, practical guide
Marcel Timmerman · Published 21 mei 2026 · Last updated 25 September 2026
Good product photos for your webshop come down to three things: enough light, a clean background and a sharp image. You don't need an expensive photo studio to get professional results — but you do need to know what to look out for. This guide walks you through it step by step.
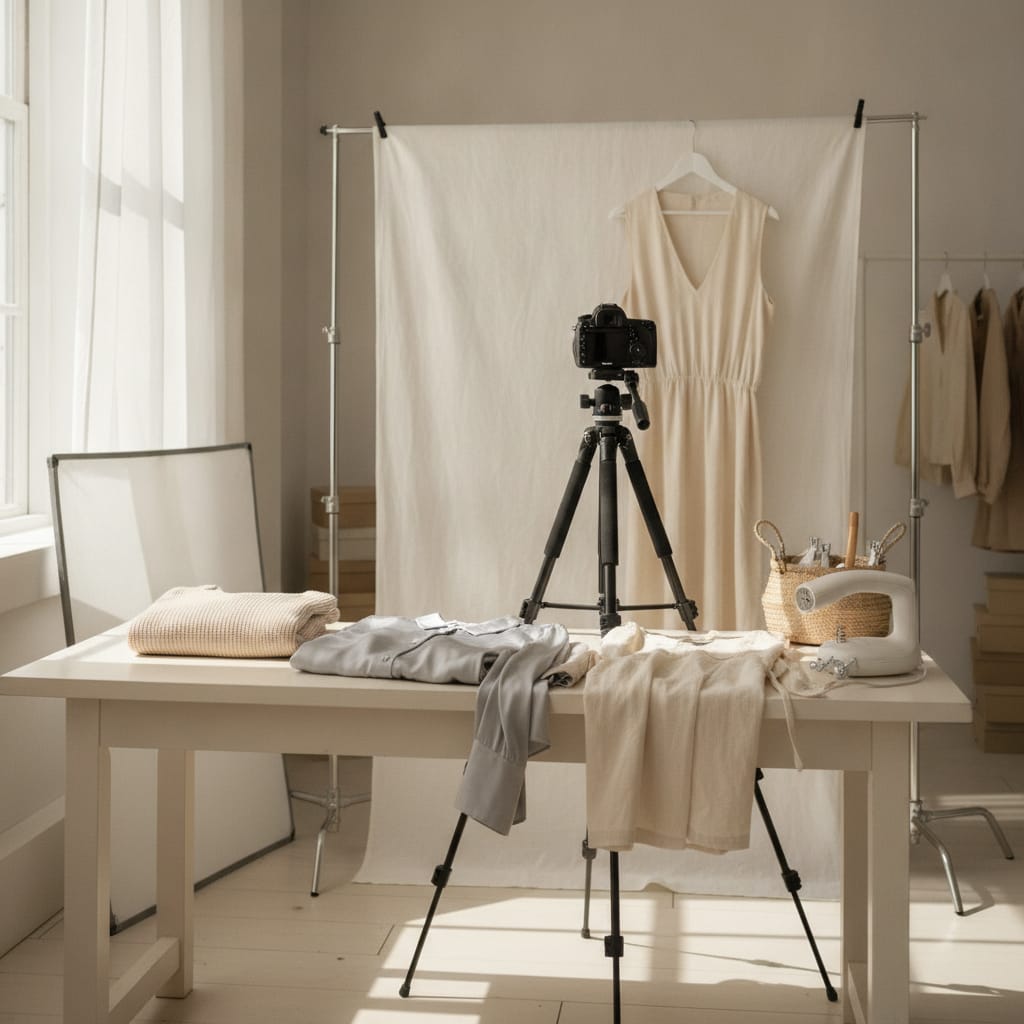
Everything you need to know about taking product photos for your webshop
- A recent smartphone with a decent camera is a great starting point for most webshops — you don't need a DSLR.
- Even, diffuse lighting prevents harsh shadows and is the single biggest factor in getting a professional result.
- Prepping the garment — ironing, pinning, presenting it neatly — affects the photo more than the camera does.
- Editing doesn't have to be complicated: cropping, straightening and correcting white balance is often enough.
- Shooting it yourself pays off if you can guarantee time, space and consistency; outsourcing or using an online photo studio tool is smarter if you're missing one of those three.
What do you need at a minimum for product photos?
For clothing product photos, you need at minimum a smartphone with a decent camera, a light source without harsh shadows, an even background and a tripod or stable surface. That's really all you need in the basics to get acceptable results.
A recent smartphone shoots sharp enough for webshop images in most cases. The camera app on modern phones automatically corrects for exposure and focus, which lowers the entry barrier. Want more control? A mirrorless or DSLR camera is a step up — but not a requirement. More on this in photographing clothes with your phone.
A tripod isn't a luxury, it's a necessity. Holding your camera by hand leads to inconsistent angles and slight motion blur, especially indoors with less light. A cheap tabletop tripod or a standard one is already enough.
Make sure you have enough space too. You need distance between the camera and the garment, and room to move around the item for detail shots. A cluttered background or tight space shows up immediately in the end result.
- Smartphone or camera — use what you have, but know its limits
- Tripod or fixed setup — for consistent angles and sharpness
- Light source — daylight or artificial light, but always diffuse
- Background — plain and neutral, preferably white or light grey
- Space — at least one and a half metres of distance for clothing shots
How do you set up even lighting?
You get even lighting by using diffuse light: daylight through a large window without direct sun, or two softbox lights on either side of the item. Avoid harsh shadows — they're distracting and distort colours on the buyer's screen.
Daylight is free and high quality, but unpredictable. Shoot preferably on an overcast day or in the shade near a window — clouds act as a giant diffuser. Direct sunlight creates harsh shadows that are hard to edit out.
Artificial light gives you more control over timing and consistency. Two identical softbox lights — one on the left, one on the right of the item — produce even lighting without deep shadows. Make sure both lights have the same colour temperature, or you'll get an unnatural colour cast on the fabric.
A common mistake is shooting with the ceiling light on while daylight is also coming in. That mixes two light sources with different colour temperatures, resulting in a yellow or blue tint that's hard to fix in editing. Pick one light source and block out the other as much as possible.
Which background works best for clothing?
A plain white background is the standard for clothing packshots. White creates a neutral, distraction-free setting, makes editing easier, and matches what buyers expect on most webshops and marketplaces. More on this in product photo on a white background.
You can create a white background with a roll of background paper, a piece of white cardboard or a plain white wall. Make sure the background is actually white, not yellowish or grey — that difference shows up in the photo, especially when you display multiple images side by side in your webshop.
A light grey background is a good alternative if you want a slightly warmer look, or if you're photographing white garments. White on white tends to disappear; a subtly grey background gives more contrast in that case.
Avoid busy or coloured backgrounds for standard product photos. They distract from the item itself and make consistency across your whole range harder. Want to shoot mood or lifestyle images instead? Different rules apply — check out creating lookbook photos.
- White background paper or cardboard — cheap and effective
- Light grey as an alternative for white clothing
- A plain wall works too, as long as the colour is truly neutral
- Avoid patterns, wood or busy textures for packshots
How do you prep the garment for the photo?
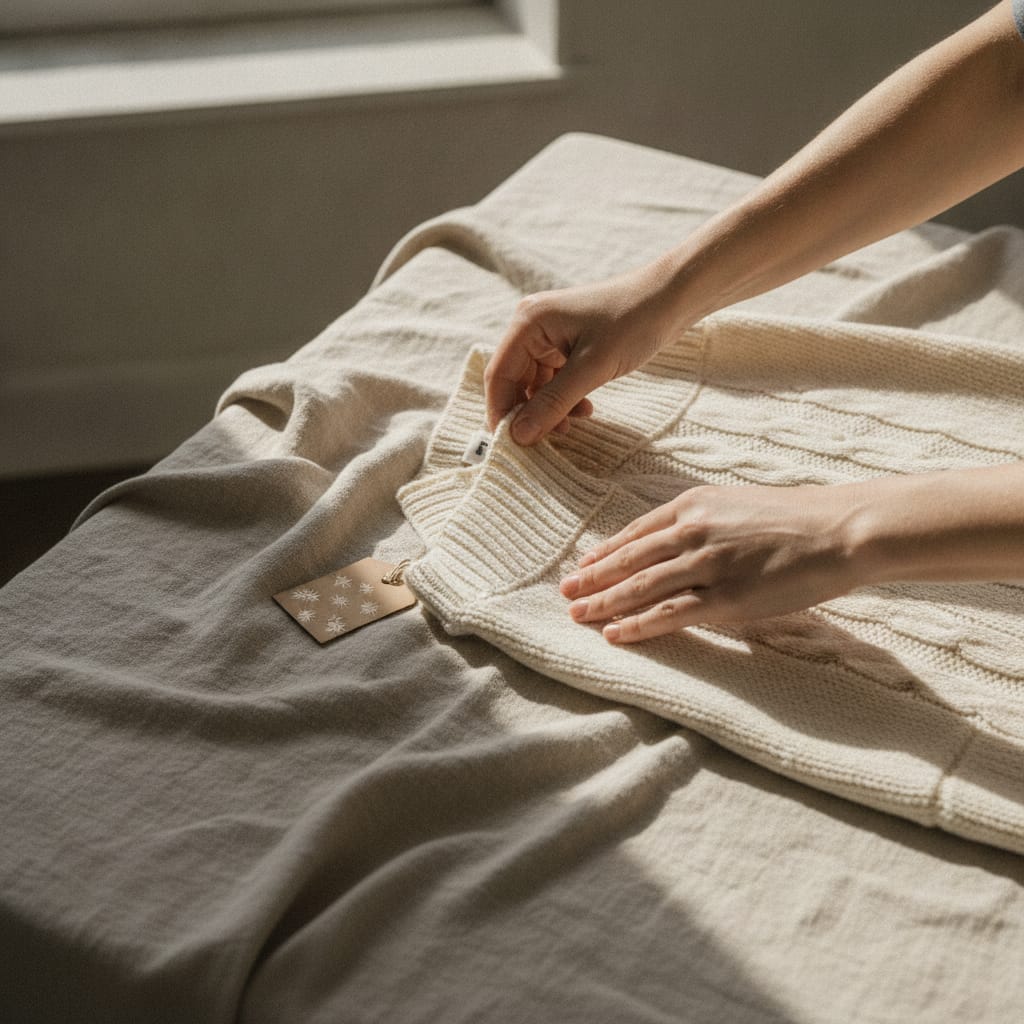
Iron or steam the garment right before the shoot, pin or clip it at the back if needed, and check that all labels, loose threads and wrinkles are out of frame. How you prep the item largely determines how professional the photo ends up looking.
Wrinkles and creases are far more visible in a photo than in real life. A steamer works fast and is gentler on delicate fabrics than an iron. Take your time with this step — it's the cheapest way to make your photos look better.
If you're shooting flat lay or on a mannequin, you can improve the fit with small clips or pins at the back. Just make sure they stay completely out of frame. This gives the garment a cleaner silhouette without needing a model.
Check the small details too: are the buttons done up or open? Are the sleeves symmetrical? Is a label sticking out? These things only become obvious once you view the photo on screen — by which point you've already finished shooting. Take a test shot and zoom in before doing the full series.
Want to know how to photograph clothing on a mannequin or with the ghost mannequin effect? That requires its own approach — see ghost mannequin photos.
How do you photograph a garment step by step?
Photograph each garment from at least three angles: front, back and a detail shot. Use a fixed distance and height for every item, focus on the centre of the piece, and take multiple shots per angle. Consistency across your whole range matters just as much as the quality of a single photo.
Set your camera or smartphone at a fixed height — for clothing laid flat, that's straight from above; for clothing on a mannequin, that's chest height. Don't vary this height between items, or your webshop will look inconsistent.
Use the focus function deliberately. Focus on the most distinctive part of the item: for a jumper, that's the front; for trousers, the waist or the seam. Avoid too much depth-of-field blur in packshots — buyers want to see the full item, not an artistic portrait.
Always take more photos than you think you'll need. Pick the best ones afterwards. Detail shots of fabric, a closure or a print give buyers extra confidence and reduce questions and returns.
Stick to a fixed order per garment: front, back, side view, detail. Repeat this every time and you'll build a consistent image library that gives your webshop a professional look.
- Front — the primary image, fully visible
- Back — a must for clothing, buyers want to see this
- Side view — useful for jackets, trousers and shoes
- Detail shot — fabric, closure, print or label
- Worn or lifestyle shot — optional, but boosts conversion
How do you edit product photos, and when should you do it yourself?
Editing product photos at minimum means cropping to a fixed ratio, straightening if the horizon is tilted, and correcting the white balance so colours look right. Free tools like Lightroom Mobile or Snapseed let you do this without any photography knowledge.
Cropping comes first. Use a fixed aspect ratio — many webshops and marketplaces work with 1:1 or 4:5 — and make sure the item is centred with even white space on all sides. This gives your product page a calm, organised look.
Colour correction is crucial for clothing. If the colour in the photo doesn't match the real colour, you get disappointed buyers and returns. Correct the white balance until white or grey areas in the photo actually look white or grey — the rest of the colours will naturally fall into place.
Want to make the background fully white? You can use tools like Remove.bg or Canva's background remover. This works well for simple shapes, but with complex fabrics or hair the result can look unnatural. Always check the edges.
Doing it yourself makes sense if you have time, can set up a dedicated workspace and can maintain consistency. If you've got a large, ever-changing range, little time per item, or no suitable space, an online photo studio tool or outsourcing to a specialist is the more realistic choice. You can also have your product photos made without setting up your own studio — handy if you want to scale up quickly.
- Crop to a fixed ratio — for consistency across your webshop
- Correct white balance — colours should match reality
- Straighten — a crooked photo looks sloppy
- Make the background white — optional, but standard on many platforms
- Export at the right resolution and file size for your webshop
Product photos for your webshop: step by step
- Prep your space. Choose a spot with good daylight, or set up two softbox lights on either side of your shooting area. Make sure you have an even white or light grey background and enough room to fit the whole item in frame.
- Get the garment ready. Iron or steam the item, remove loose threads and labels that shouldn't be in shot, and pin or clip it at the back if needed for a cleaner silhouette.
- Set up your camera or smartphone. Mount your device on a tripod at a fixed height. Turn on the grid for straight lines, manually focus on the item, and choose a low ISO to limit noise.
- Shoot from multiple angles. Take at least a front, back and detail photo of every item. Keep the distance and height consistent per garment. Shoot several images per angle and pick the sharpest one afterwards.
- Edit the photos. Crop to a fixed aspect ratio, straighten the photo if needed, and correct the white balance so colours match reality. Export at the right resolution for your webshop or platform.
- Check and publish. Review the photos on a large screen before uploading. Check for sharpness, colour consistency and even white space. Update the file names for SEO and add descriptive alt text.
- Research by the Baymard Institute shows that product images are one of the most important factors in a webshop purchase decision. — Baymard Institute
- According to Shopify research, multiple product photos from different angles significantly boost conversion compared to a single image. — Shopify Blog
Frequently asked questions
Can I take product photos with my smartphone?
Yes, a recent smartphone is a great starting point for most webshops. Make sure you have enough light, use a tripod for stability, and shoot at the highest resolution your phone offers. The camera matters less than the lighting and how well you prep the item.
Which background colour works best for clothing photos?
A plain white background is the most widely used and versatile choice. It matches what buyers expect on most webshops and marketplaces, makes editing easier, and gives your range a consistent look. For white clothing, light grey is a better alternative.
How many photos do I need per garment?
Take at least three photos per garment: front, back and a detail shot. More is better — a side view and a worn shot reduce buyer doubt and can lower the number of returns. Consistency across your whole range matters just as much as the number of photos per item.
When does it make sense to outsource product photography?
Outsourcing pays off if you don't have a suitable space, have little time per item, have a large or fast-changing range, or if the quality of your own photos falls short of what you're aiming for. An online photo studio tool can then be a quick and cost-efficient middle ground.
Written with the help of AI and reviewed by Marcel Timmerman, founder of FashionPix.
Read more
- Selling Bridal Wear
- How many product photos per product
- Product photo size for webshop
- Packshot or lifestyle
- Kleding fotograferen voor je webshop
- Product fotografie kleding
- Model photos
- FashionPix — Product photos, video and copy for your fashion webshop
Prefer to skip the hassle?
No space, time or desire to set up your own photo studio? One photo of the garment is enough — no need to set up a single light. Your first model photo is free, no account needed.