Uploading and Editing Clothing Photos: An Honest Step-by-Step Guide
FashionPix · Published 8 juli 2026 · Last updated 4 augustus 2026
Uploading and editing clothing photos takes more time than most webshop owners expect. In this guide you'll walk through the six basic steps — from removing the background to color correction — and get an honest comparison of how much time editing yourself costs versus using an automated approach.
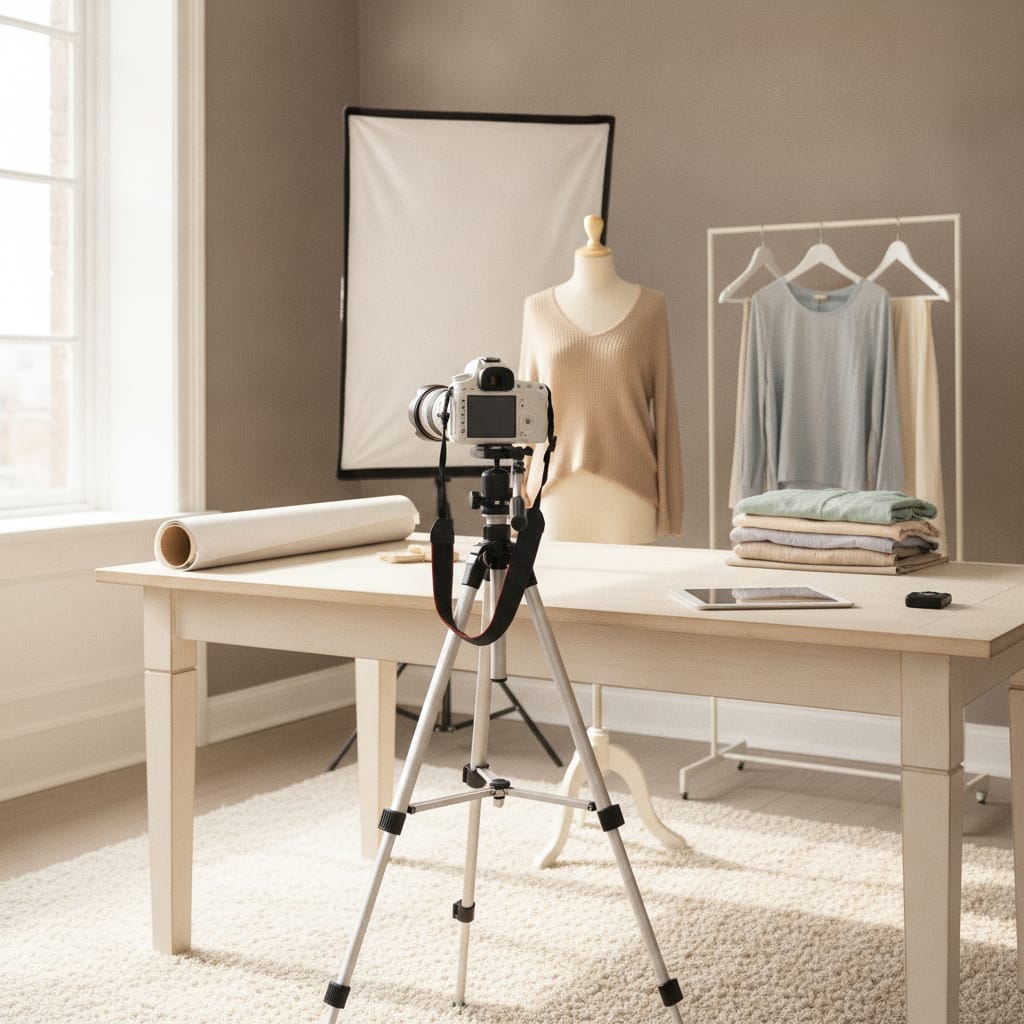
Everything about uploading and editing clothing photos
- Editing already starts at the shoot: good lighting and composition save you editing time later.
- Removing the background, color correction and consistent cropping are the three steps that take the most time.
- An experienced editor spends five to fifteen minutes per photo; beginners should count on twenty to thirty minutes.
- With a collection of a hundred products, you're quickly looking at a full workweek.
- The choice between doing it yourself and outsourcing depends on your volume, your budget, and the time you'd rather spend on your webshop.
Why is good editing so important?
Clothing photos that look professional build more trust with buyers and reduce the number of returns. A clean background, accurate colors and sharp details make the difference between a photo that converts and one that drives visitors away.
Clothing is one of the most visually driven product categories in e-commerce. Buyers can't feel or try on the product, so the photo has to do all the work. An incorrect white balance can make a cream-colored shirt look yellow, leaving customers disappointed when the package arrives.
Returns cost webshops money and time. Incorrect product representation is one of the most commonly cited reasons for returns in the fashion industry. Investing in accurate editing is therefore not just a matter of aesthetics, but of business economics too.
On top of that, major sales platforms are setting increasingly strict technical requirements for product images: minimum resolution, maximum file size, white background or specific color profiles. If you don't meet them, you risk having products rejected or shown less prominently. The requirements per platform are listed at product photos for Bol.com.
What are the basic steps?
The basic steps are: importing and selecting, cropping and straightening, correcting white balance and exposure, removing or replacing the background, refining color and contrast, and exporting in the right format and resolution.
Always start with a good selection. Not every photo from a shoot is usable — pick the sharp, well-lit shots before you start editing. This saves you a lot of time later and stops you wasting energy on photos that won't make the cut anyway.
Cropping and straightening sounds simple, but consistency is the key word here. If all the product photos in your webshop have the same ratio and the same framing point, your shop looks professional and well-organized. Use a fixed template or action in your editing software so you don't have to set this up again every time.
White balance and exposure are the two corrections that have the biggest impact on the end result. A white balance that's too warm makes neutral colors look orange-yellow; too cool and everything turns bluish. Use the eyedropper tool in Photoshop or Lightroom to select a neutral gray or white in the photo as a reference point.
Removing the background is, for many webshop owners, the most time-consuming step. Clothing has soft edges, transparent fabrics and loose threads — that makes automatic selection tools less reliable than with hard products like electronics. In Photoshop, use 'Select Subject' combined with 'Select and Mask' to fine-tune the edges precisely.
After the background comes color and contrast correction. Check whether the color of the garment on screen matches reality. Preferably use a calibrated monitor for this. Finally, export the photo in the right format: JPEG for fast load times, PNG if you want to keep a transparent background.
- Importing and selecting: pick only sharp, well-lit shots
- Cropping and straightening: work with a fixed ratio for consistency
- Correcting white balance: use a neutral reference point in the photo
- Removing the background: combine 'Select Subject' with 'Select and Mask'
- Refining color and contrast: always compare with the physical product
- Exporting: choose the right format and resolution per platform
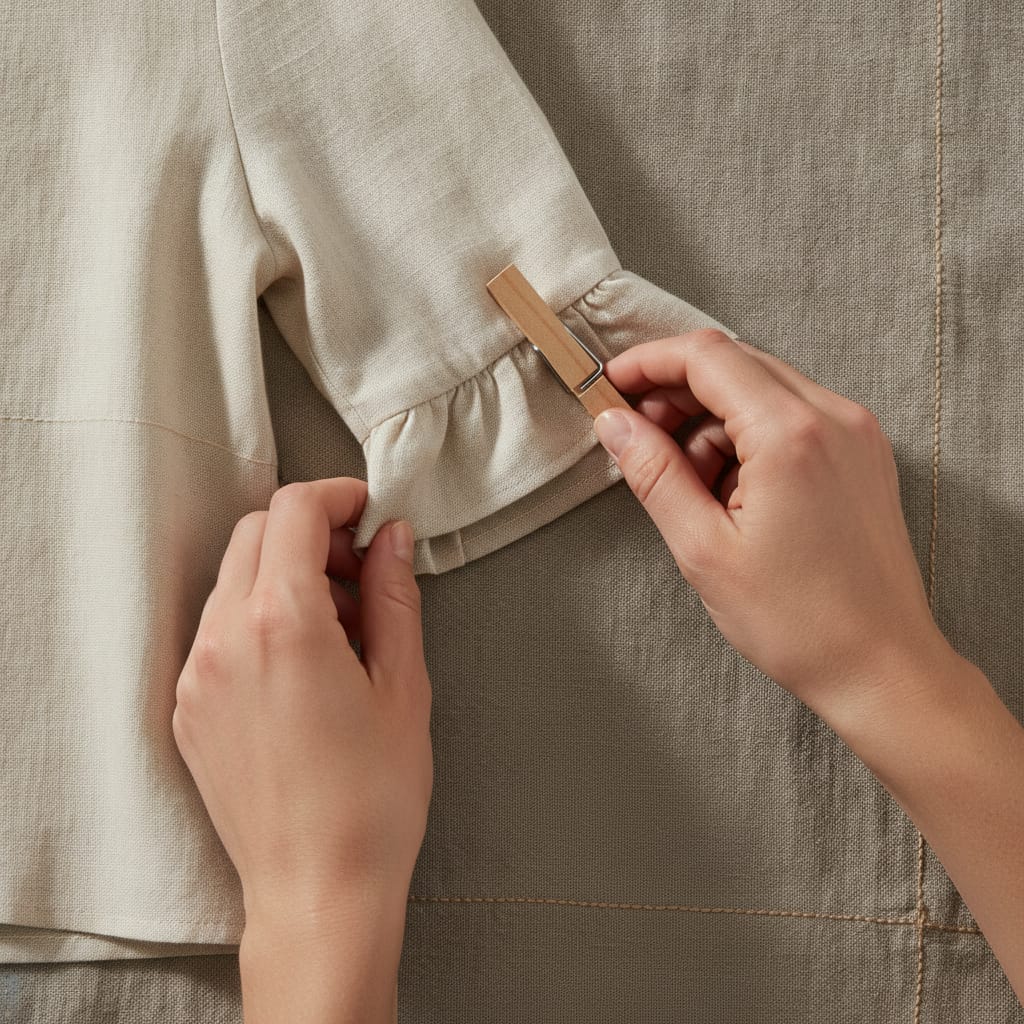
How much time does editing yourself take?
An experienced editor spends five to fifteen minutes on average per clothing photo, depending on complexity. For beginners that goes up to twenty to thirty minutes per photo. With a collection of a hundred products, you're quickly looking at a full workweek.
The time investment depends heavily on your skill level in editing software. Photoshop has a steep learning curve: the basic tools are quick to pick up, but masks, adjustment layers and color profiles take months of practice before you can apply them smoothly.
Besides the actual editing time, you also need to factor in the time it takes to learn the software, set up a consistent workflow and manage your files. For small webshops with a limited range, that's manageable. But once your collection grows or you shoot multiple seasons a year, the time pressure quickly becomes noticeable.
There are also alternatives to the full Photoshop suite. Lightroom is better suited for bulk editing of exposure and color, while specialized tools are faster for removing backgrounds. Even so, these tools still require manual checks per photo for a consistent end result.
An honest calculation: if the value of your time as an entrepreneur is higher than the cost of outsourcing, editing yourself is rarely the smartest choice economically — especially at larger volumes. The comparison is worked out in detail at cost of clothing product photography.
What are the most common mistakes?
The most common mistakes are: over-editing that makes colors look unnatural, inconsistent cropping between products, hard edges after removing the background, and exporting at a resolution too low for larger screens.
Over-editing is a pitfall that catches many beginners. It's tempting to boost the saturation so colors look more vibrant, but that changes the actual color of the product. Buyers who order based on an over-saturated photo are more often disappointed when the item arrives.
Inconsistency is another common problem. If one photo has a warm tone and the next a cool one, your webshop looks unprofessional — even if the individual photos are well edited on their own. Always work with a fixed preset that you apply to all photos as a starting point.
Hard edges after removing the background instantly give away that a photo has been edited. Pay extra attention to the edges of fabrics, models' hair and transparent materials. Zoom in to 100% to check whether the edge looks natural.
Finally: always export at the resolution the platform requires. Too small and the photo looks blurry on a retina screen; too large and your webshop's load time suffers, which hurts your position in search results.
How does FashionPix approach this differently?
FashionPix doesn't edit your existing photoshoot — it skips that step entirely. You upload one photo of the garment, and from that come the model shots, the pack shot on pure white, and the detail photos. So you don't need to correct the background, lighting and framing yourself, because they're built correctly from the start.
That's a fundamentally different starting point than the editing route described above. When editing yourself, you fix afterward what went wrong during the shoot: a yellow tint, a messy background, a crooked crop. With a generated image, those problems simply don't occur.
The process is designed for webshop owners who don't have the time or desire to dive into Photoshop, but still want consistent, professional product photos. You don't need a subscription to expensive software or hours of manual editing.
On top of that, you get things editing software can't deliver: the meta texts, the short and long product copy, the alt texts and the label's washing instructions — in four languages. Exactly what you get per item is listed at have product photos made.
FashionPix isn't the best choice for everyone. If you already have a complete, well-lit photoshoot that only needs post-processing, the editing route from this article makes more sense. If you're starting from a garment and a phone, the other route saves you the entire editing step.
Do it yourself or outsource: how do you decide?
Choose to edit yourself if you have a small collection, value creative control, and are willing to invest in editing software. Choose to outsource if your volume is growing, your time is scarce, or you want to guarantee consistency across large batches without needing technical knowledge.
There's no universally right answer. The choice depends on three factors: volume, budget and available time. A starting webshop with twenty products can perfectly well edit its own photos with a tool like Lightroom and some practice. A webshop with several hundred products per season simply doesn't have the capacity for that.
Also think about consistency in the long run. If you edit yourself now but later bring in an employee or freelancer, that person will need to take over your style and settings. Documented presets and a clear style guide help with that, but it does require upkeep.
A hybrid approach is also possible: use an automated route for standard product photos on a white background, and save your own editing time for the editorial campaign images where creative control really matters.
Whatever you choose: make sure your workflow is scalable. The most time-consuming situation is an ad-hoc approach where you edit every photo differently and don't use fixed settings. That not only costs time, it also produces an inconsistent result that damages your brand image.
- Small volume, want creative control → edit yourself with Lightroom or Photoshop
- Large volume, time is scarce → consider an automated route
- Hybrid: automated for bulk, manual for campaign images
- Always: work with fixed presets and a documented style guide
Uploading and Editing Clothing Photos: Step by Step
- Importing and selecting. Import your photos into Lightroom or Photoshop and make a first selection. Choose only sharp, well-lit shots that accurately show the product's color.
- Cropping and straightening. Set a fixed aspect ratio — for example 1:1 or 4:5 — and apply it consistently across all photos. Make sure the product is centered and there's enough white space around it.
- Correcting white balance and exposure. Use the eyedropper tool to select a neutral white or gray in the photo as a reference. Then adjust the exposure so details remain visible in both the light and dark areas.
- Removing the background. In Photoshop, use 'Select Subject' as a starting point and refine the selection with 'Select and Mask'. Pay extra attention to soft edges, transparent fabrics and loose threads.
- Refining color and contrast. Compare the edited photo with the physical product or a color chart. Correct any color shifts with hue and saturation adjustment layers. Boost contrast subtly so texture stays visible.
- Exporting. Export as JPEG for use on your webshop, or as PNG if you want to keep the transparent background. Check the file size and resolution against your sales platform's requirements.
- Incorrect product representation is one of the most commonly cited reasons for returns in the fashion industry. — Statista — Reasons for returning online fashion purchases
- Adobe Photoshop offers a 'Select Subject' feature that uses machine learning to automatically select objects, even with complex edges like textiles. — Adobe Help Center — Select a subject
- Zalando sets technical image requirements for sellers, including a minimum resolution and a white or light-gray background for standard product photos. — Zalando Partner Program — Image guidelines
Frequently asked questions
Which program is best for editing clothing photos?
Adobe Lightroom is ideal for bulk editing exposure, color and white balance. Adobe Photoshop is more powerful for removing backgrounds and detailed retouching. More beginner-friendly tools are also available, but they offer less control over the end result.
How do I remove the background without hard edges?
In Photoshop, use the 'Select Subject' feature as a starting point, then open 'Select and Mask' to refine the edges. Use the brush tool along soft or complex edges like fabric and loose threads, and zoom in to 100% to check the result.
How do I keep colors consistent when editing in bulk?
Always shoot under the same lighting conditions and use a gray card as a reference. In Lightroom, create a preset from your color settings and apply it to all photos from the same shoot. Check the end result on a calibrated monitor.
When does it make sense to outsource this?
Outsourcing becomes worthwhile once you're processing more than twenty to thirty photos a week, you have no experience with editing software, or you notice editing is eating into time you could spend better on your webshop or sourcing. Always compare the cost against the value of your own time.
Read more
- Product video for your webshop
- Bridal product descriptions
- WooCommerce vs Shopify
- Maternity photography for your webshop
- Foto's maken voor je webshop
- Kleding fotograferen voor je webshop
- Recolor
- FashionPix — The signature of your webshop
Ready to compare?
Now that you know what editing yourself involves, it's easier to make a well-informed choice. Want to see what comes out of a single upload? Six images are free, no account needed.