Clothing Photography for Webshops: How to Get It Right
FashionPix · Published 3 juli 2026 · Last updated 4 augustus 2026
Clothing photography for your webshop is the foundation of trust with online shoppers. Visitors can't feel or try on a garment — the photo is their only point of reference. In this article, you'll learn what good product photography involves, which styles work, and how to avoid common mistakes.
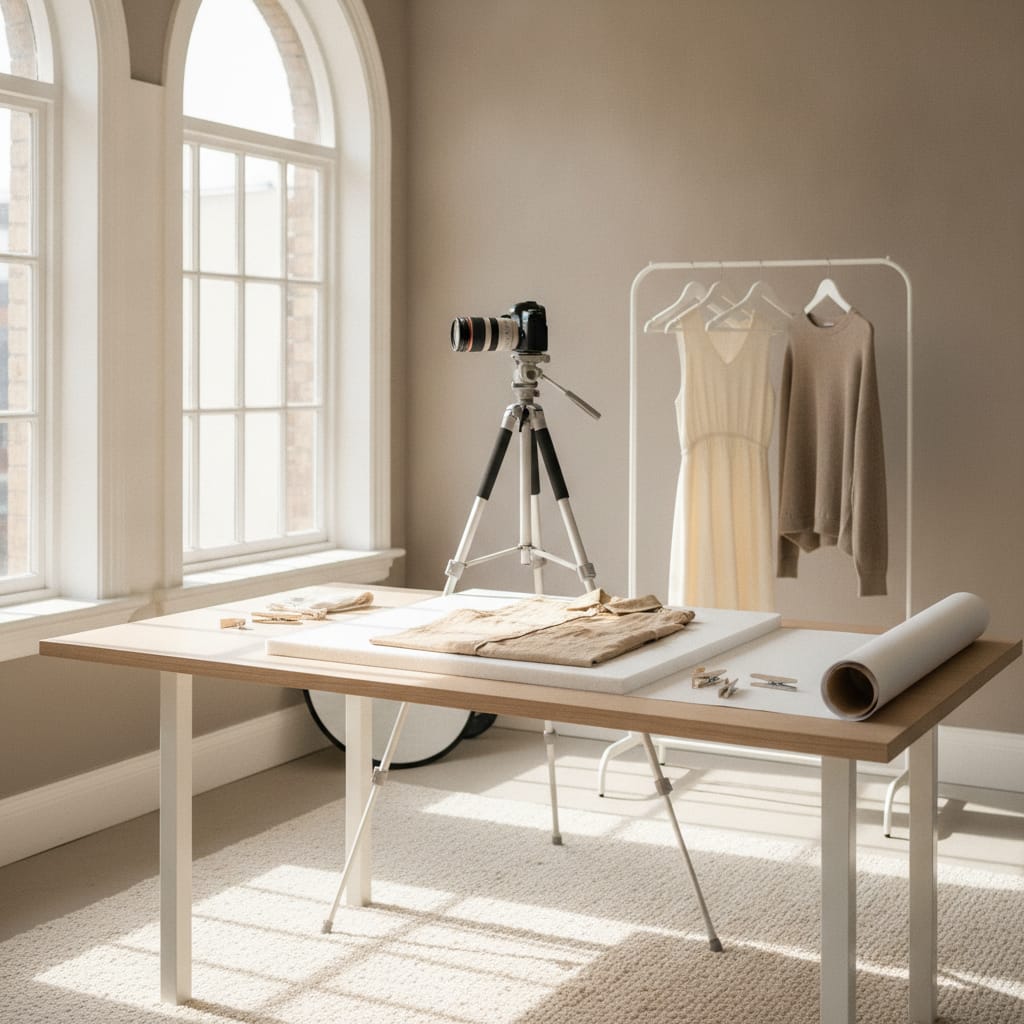
Everything about clothing photography for your webshop
- Consistent lighting and background give your webshop a professional, recognizable look.
- Multiple angles and a close-up detail shot reduce buyer uncertainty and lower your return rate.
- Ghost mannequin and flat lay are the most commonly used styles — pick one based on your brand.
- Inaccurate color representation is one of the most common return reasons, so getting white balance right is essential.
- Outsourcing is often more efficient than building your own setup once your collection grows.
Why is clothing photography so crucial for your webshop?
Clothing photography for your webshop completely replaces the in-store experience. Visitors can't touch, try on, or hold a garment up to the light. The better a photo reflects reality — color, fit, texture — the more confident a visitor feels about buying.
A webshop without good product photos sells less and also sees a higher return rate. If a garment looks different in real life than in the photo — a different color, a different drape — a return is almost inevitable. That costs you both money and time.
Clothing photography for your webshop is therefore not a luxury, but a direct investment in your conversion rate and customer satisfaction. Even a relatively simple but consistent photo style works better than expensive but inconsistent images.
Your photos also shape how your brand comes across. A luxury label with grainy images on a messy background undermines the trust you're trying to build through your products and pricing.
Which photography styles work best?
The three most commonly used styles are: on a model, ghost mannequin, and flat lay. Each style has a different effect on how the fit and look of a garment come across to visitors.
Photography on a model gives the best impression of fit and wearability. Visitors see how a pair of pants or a jacket falls on a real body. This is the most convincing style, but also the most expensive and time-consuming — you need a model, stylist, and often a photographer.
Ghost mannequin photography is a popular alternative. A garment is photographed on a mannequin, which is then removed in post-processing. The result is a 'floating' garment that keeps its three-dimensional shape. This works well for coats, sweaters, and pants.
Flat lay — the garment laid flat and photographed from above — is quick and cheap, but gives less sense of fit. It works best for accessories, t-shirts, and items where the print or pattern is the main focus.
Many webshops combine styles: a model shot as the main image, complemented by a ghost mannequin or detail shot. This gives visitors multiple perspectives without the cost of a full model session for every product.
- Model: best impression of fit, higher production costs
- Ghost mannequin: three-dimensional without a model, requires post-processing
- Flat lay: quick and affordable, less suited to showing fit
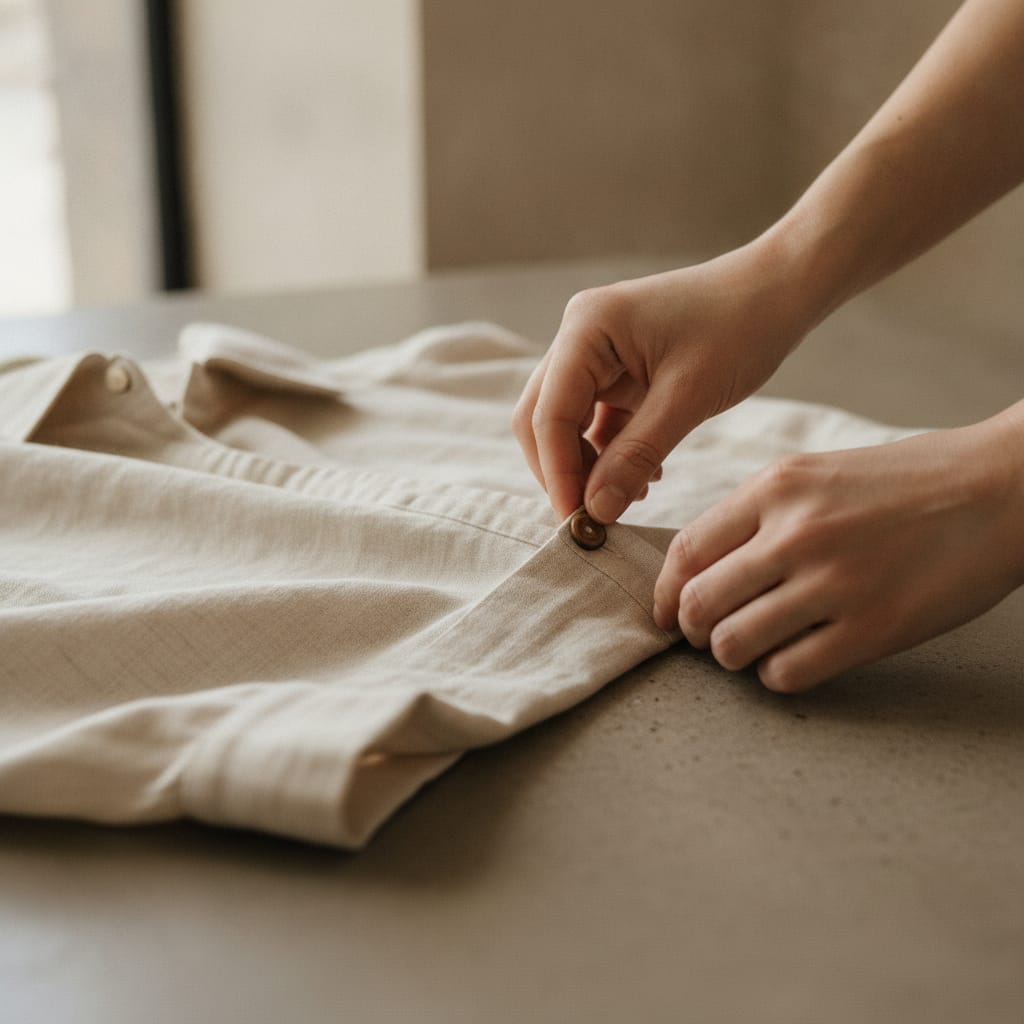
How do you keep lighting and background consistent?
Consistent lighting and a fixed background — usually white or light gray — give your webshop a professional, cohesive look. Varying lighting conditions or backgrounds make a webshop look messy and undermine visitor trust.
Preferably work with artificial light instead of daylight. Daylight changes in color and intensity throughout the day, which makes it hard to produce consistent photos batch after batch. Softboxes or ring lights provide even, neutral light that you can repeat reliably.
White balance is an underrated detail. If your white balance is off, the color of your garments shifts in the photo. A navy sweater that looks purple in the photo will almost certainly lead to a return. Set your white balance manually or use a gray card as a reference.
A white or light gray background is standard for most webshops because it's neutral and keeps attention on the product. If you want a more editorial or brand-driven look, you can opt for a colored background or a lifestyle setting — but make sure it stays consistent across your whole collection.
If you're shooting at home, a photo tent or a piece of white cardboard is already a good start. Keep in mind that the room itself also reflects light: colored walls can cast an unwanted tint on your photos.
What equipment do you need at minimum?
At minimum, you need a camera with manual settings, a tripod, two light sources, and a neutral background. A DSLR or mirrorless camera is ideal, but a recent smartphone with a good camera can get you pretty far too.
Use a tripod to prevent motion blur and to shoot every photo from exactly the same angle. Consistent camera positioning makes your webshop look more organized and saves time during editing.
Set your camera to a low ISO (100–200) to minimize noise, a narrow aperture (f/8–f/11) for sufficient depth of field, and a shutter speed that matches your lighting. Shoot in RAW if your camera supports it — that gives you more flexibility in post-processing.
For editing, Adobe Lightroom is the most widely used software, but free alternatives like Darktable or your phone's built-in tools can also deliver solid results. What matters is having a fixed workflow you repeat for every product.
Don't forget the details: a close-up of the fabric, a label, or a closure gives visitors extra information and confidence. Two or three extra detail shots per product take little time but add a lot of value to the product page.
- Camera on a tripod for consistent angle and sharpness
- Two light sources (softboxes) for even lighting
- Neutral background, preferably white or light gray
- Post-processing with a fixed workflow for color consistency
When is outsourcing smarter than doing it yourself?
Outsourcing pays off once the time investment of shooting yourself outweighs the cost, or when you can't achieve the consistency and quality you want with your own setup.
Many webshop owners start out shooting their own photos and after a while realize it's a serious time drain. Especially if you regularly add new collections, photographing, editing, and uploading product photos can eat up a big chunk of your work week.
FashionPix Studio focuses specifically on clothing photography for webshops in the Netherlands and Belgium. You upload a photo of the garment, the images are generated in a consistent style, and you receive the files digitally. That makes it scalable: whether you have ten or two hundred products, the process stays the same. Pricing details are available at clothing product photography costs.
Also consider a hybrid approach: use a studio for your core collection and shoot seasonal items or quick additions yourself. That way you keep costs manageable without sacrificing quality on your key range.
How do you optimize photos for use on your webshop?
Photos need to load fast, look sharp on both desktop and mobile, and have the right file name and alt text for discoverability. Compress your images without visible quality loss and use a consistent image format across your whole shop.
The most commonly used format is JPEG, or WebP if your platform supports it. WebP files are smaller at comparable quality, which improves your webshop's loading time. Loading time directly affects your conversion rate — visitors drop off when a page takes too long to load.
Use a fixed image format throughout your webshop. Most clothing webshops choose a portrait format, such as 2:3 or 4:5, since clothing is vertical and this format works well on mobile. Inconsistent ratios make your product overview look messy.
Give your image files a descriptive name, like 'red-linen-blouse-front.jpg' instead of 'IMG_4821.jpg'. Also add alt text that describes the product. This helps search engines understand what's in the photo and makes your webshop more accessible to people using screen readers. The full checklist is available at optimizing product photos for SEO.
Platforms like Shopify, WooCommerce, and Lightspeed offer built-in tools for image optimization, but you can also compress images yourself before uploading. Always check the end result on your phone — most webshop visitors shop on mobile.
- Use WebP or compressed JPEG for fast loading times
- Stick to one fixed image ratio throughout your webshop
- Give files descriptive names and add alt text
- Always test the end result on a mobile screen
How do you create consistent clothing photography for your webshop?
- Choose your photography style. Decide whether you'll shoot on a model, with a ghost mannequin, or as a flat lay. Pick one style as your standard for the core collection and stick to it.
- Set up your shooting space. Set up a white or light gray background, place two light sources on either side, and mount your camera on a tripod at a fixed height and distance.
- Set your camera manually. Choose a low ISO (100–200), a narrow aperture (f/8–f/11), and set the white balance manually. Preferably shoot in RAW for more editing flexibility.
- Photograph multiple angles per product. Take at least a front, back, and side view, plus one or two detail shots of fabric, closure, or label. This gives visitors enough information to buy with confidence.
- Edit using a fixed workflow. Adjust lighting, white balance, and color in Lightroom or a similar program. Use presets or copy your settings across all photos from the same session for consistency.
- Optimize for your webshop. Export to WebP or JPEG, compress your files, give them descriptive names, and add alt text for every image.
- Inaccurate product information — including misleading photos — is one of the most cited return reasons by consumers for online clothing purchases. — Thuiswinkel.org
- More than half of all online purchases in the Netherlands are made via a mobile device, which means product photos need to be optimized for small screens. — CBS – ICT use by households and individuals
- Google uses image alt text as one of the signals when indexing product pages, meaning descriptive alt text contributes to your webshop's discoverability. — Google Search Central – Image SEO
Frequently asked questions
Can I do clothing photography for my webshop with just a smartphone?
Yes, a recent smartphone with a good camera can give solid results, as long as you use a tripod, consistent lighting, and a neutral background. The biggest risk is an inconsistent white balance — use your camera app's manual settings to keep it under control.
What is ghost mannequin photography and when should you use it?
In ghost mannequin photography, a garment is photographed on a mannequin, which is then removed in post-processing. The result is a three-dimensional, floating garment. This style suits coats, sweaters, and pants where fit matters but a full model session is too costly.
How many photos per product do I need for my clothing webshop?
At least three to four photos per product: front, back, and side view, plus one detail shot. The more information you provide, the less uncertainty for the buyer. For more complex items like coats or dresses, five to six photos is common.
What are the benefits of outsourcing?
A specialized provider has a fixed, optimized workflow, so you get consistently high-quality images without investing in equipment, software, and time yourself. Outsourcing pays off especially if you regularly add new products or if the quality of your own photos isn't up to the level you want.
Read more
- Optimize product photo SEO
- Increase conversion with better product photos
- Editing clothing photos
- Product video for your webshop
- Product fotografie kleding
- Foto's maken voor je webshop
- Kleding fotograferen voor je webshop
- Model photos
- FashionPix — The signature of your webshop
Ready to take your clothing photography to the next level?
Whether you get started yourself with the tips from this article or consider outsourcing — what matters most is that your photos represent reality honestly and appealingly. Six images are free, no account needed.