Photographing Clothing for Your Webshop: The Complete Approach
FashionPix · Published 29 augustus 2026 · Last updated 4 augustus 2026
You want great product photos, but booking a studio costs time and money. Luckily, it can be simpler. In this article you'll learn how to photograph clothing for your webshop, which mistakes to avoid, and what your options are if you don't want to book a photographer.
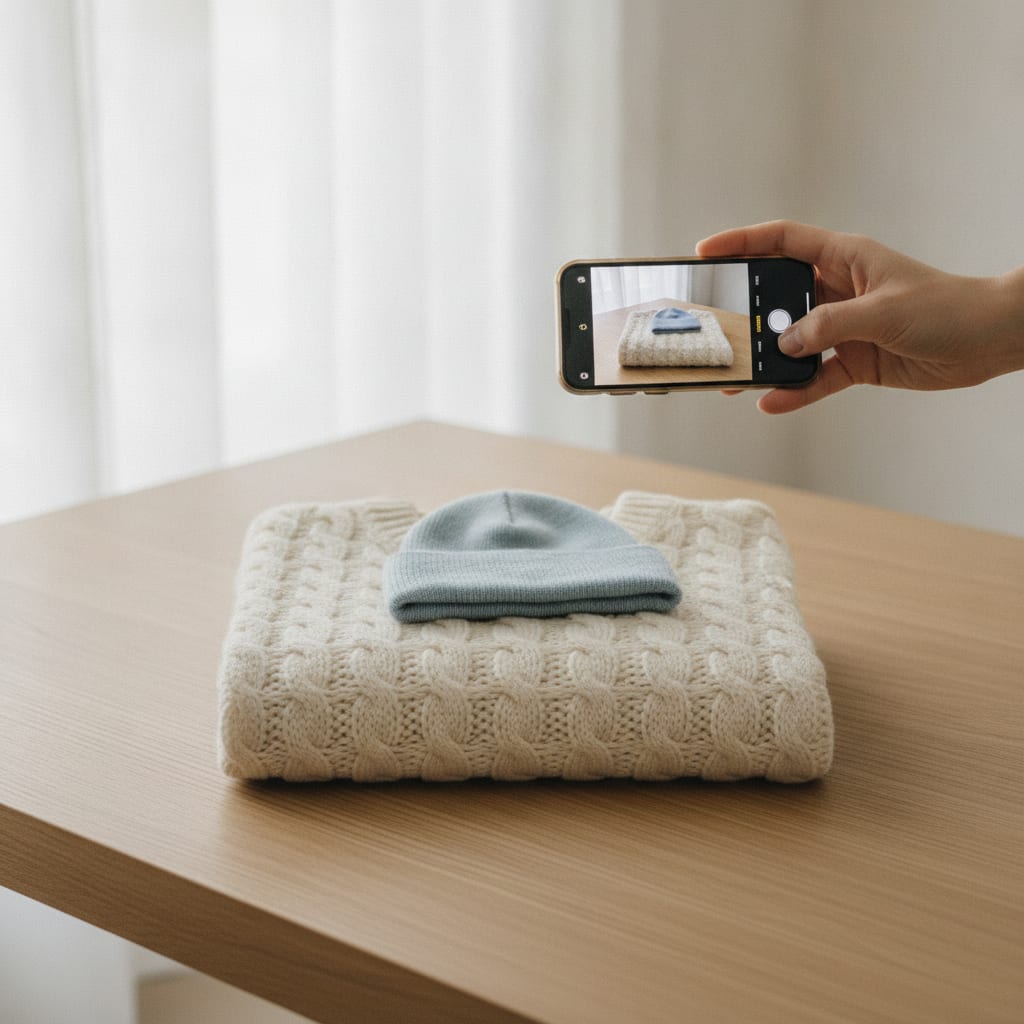
Photographing Clothing for Your Webshop: The Complete Approach
- Good photos decide whether customers buy or click through to a competitor.
- You can choose between a DIY photoshoot, hiring a photographer, or using AI photography.
- Lighting, background and a consistent style make more difference than an expensive camera.
- With AI photography, you upload one photo of the garment and get model photos back, no photoshoot needed.
- Don't forget alt text and size info: they determine whether Google and customers actually understand your photos.
Why do product photos determine your revenue?
Customers can't touch clothing in a webshop. They have to trust what they see. A blurry photo on a cluttered background doesn't build trust, no matter how nice the garment actually is.
You'll notice the difference straight away in your numbers. Webshops that invest in sharp, consistent photos often see fewer returns and more sales. Customers know better what they're buying, which means fewer disappointments down the line.
It's not about expensive gear. It's about clarity: is the colour clearly visible, does the fabric fall naturally, can you tell at a glance how the garment fits? That's what photographing clothing for your webshop really comes down to.
Many business owners put this off because it takes time. Understandable, since planning a photoshoot with models, a location and a photographer is a project in itself. That's why more and more webshops are looking at faster alternatives.
Say you sell sweaters in five colours. If customers can't clearly tell from the photo whether it's ochre or mustard yellow, you're inviting doubt. That doubt often ends in a return, or worse, an abandoned cart. A photo that shows the colour accurately saves you that hassle afterwards.
Also think about where else your photos get used. A good product photo doesn't just appear on your own product page, it also shows up in ads, on social media, and sometimes on marketplaces like Bol.com or Amazon. Invest properly once, and you reap the benefits in multiple places.
How do you photograph clothing yourself, step by step?
Shooting it yourself works fine, especially when you're just starting out. You don't need expensive gear, just a few basic rules applied consistently.
Daylight is your best friend. Shoot near a window, not in direct sunlight but in soft, diffused light. Avoid your camera's or phone's built-in flash, it creates flat, harsh photos.
A solid background, white or light grey, keeps attention on the garment. Use a tripod so every photo has the same angle and distance. That gives your shop a calm, professional overview.
A practical example: place your tripod exactly one metre from the wall and mark that spot with tape on the floor. Every time you shoot, set the tripod back on that same spot. That keeps the distance and angle exactly the same, even if you're not shooting your next collection for another two weeks.
Shooting with a phone? Always turn off the flash and use a separate lamp or ring light if it's overcast outside. You'll find more handy tricks for shooting with your phone in a separate article, in case you'd rather not invest in a camera just yet.
Not sure whether to shoot on a mannequin or a live model? Check out flat lay photography for clothing as a middle ground, or dive into the basics via taking photos for your webshop.
- Always shoot at the same time of day for consistent lighting
- Use a tripod to avoid blurry photos
- Pick one solid background colour for your whole collection
- Capture at least four angles per garment: front, back, side, detail
- Edit photos in batches so colours stay consistent throughout
- Never leave your camera on auto white balance in changing light
What does hiring a photographer cost, and is it worth it?
Booking a professional photographer typically costs between 300 and 1000 euros per half day, depending on whether you include a model, makeup artist and studio. For a small collection, that can quickly cost more than you'd expect.
On top of that: you need to plan. Booking a model, finding a date that works for everyone, renting a studio. If your collection changes weekly, that's nearly impossible to keep up model by model.
For large collections with plenty of new products every month, a photographer can still make sense, especially if you want a very specific look and feel. For most clothing webshops, though, it's a barrier that slows down growth.
Don't forget the costs you don't immediately see either. Think travel time to the studio, a makeup artist for the model, and the time you spend yourself preparing and selecting photos afterwards. With a four-hour session, you're often looking at a full day before you get the first photos back.
Some webshops go for a middle ground: a photographer for the collection's key pieces, and a faster method for the rest. That way you keep control over your budget without half your collection sitting unedited in your shop.
Want to know what realistic amounts look like before requesting a quote? Check out clothing product photography costs for a full overview.
Can AI photography replace a photoshoot?
More and more webshops are switching to AI photography. The idea is simple: you upload one photo of the garment, laid flat on a table or on a hanger, and the AI transfers it onto a model. You don't ship anything physical, the garment stays with you.
At FashionPix, that works with 40 in-house models aged between 3 and 64. You pick a model that fits your target audience, and the real garment is transferred onto the photo, not redrawn or invented. That means colour, fabric and fit match exactly what you're selling.
A complete item, meaning images plus product copy in four languages, costs 4 credits. That's roughly 1.30 euros. Compare that to the time and cost of a photoshoot, and the difference is huge, especially if your collection changes weekly.
Say you sell kids' clothing and want to show how a dress looks on a 6-year-old and a 10-year-old girl. With a traditional photoshoot, you'd book two models, get parental consent from two families, and probably run two separate sessions. With AI photography, you upload that one photo of the dress, pick two models from the available ages, and have both images ready the same day.
Still not sure? You can try six images for free, no account needed. That way you can see for yourself what your garment looks like on a model before going any further. Learn more about how the process works at the AI photoshoot.
- Upload one photo of the garment, laid flat or on a hanger
- Choose from 40 models of different ages
- The real garment gets transferred onto the model, not redrawn
- 4 credits (± €1.30) per complete item: images and copy in four languages
- Alt text and size info are included automatically
- Images get an AI label under the EU AI Act
Which mistakes cost you customers?
The most common mistake is inconsistency. The first product is on a white background, the second on a wooden floor, the third looks like a screenshot cropped from a group photo. Customers feel that messiness, even if they can't quite say why.
A second pitfall is too few angles. One front-facing photo isn't enough to decide. Customers want to see the back, a close-up of the fabric, how it moves.
Don't forget the technical side either: alt text. Without descriptive alt text, Google can't find your photos, which costs you traffic you'd otherwise get for free. With AI photography, that copy is often included automatically, saving you that step.
And then there's size info: customers who are unsure about the fit drop off faster or return more often. Place that information clearly on every product, not buried somewhere in your footer.
One more classic: over-editing. Editing a photo so heavily that the fabric looks smooth and plastic-like breeds distrust. Customers who see the product looking different in real life than in the photo will send it back, even if the fit was actually fine. Edit for clarity, not to make something look better than it is.
Want to make sure you're not missing a step? Go through your collection with a checklist: background, angles, alt text, size info, colour check. Five minutes per product that saves you hours of customer questions later.
- Use the same background and lighting for every product photo
- Shoot at least three angles per garment
- Always add a descriptive alt text
- Place size info right next to the product photo, not just in the copy
- Check that the colours in the photo match reality
- Avoid harsh flash photos that distort fabric and colour
Frequently asked questions
Do I need an expensive camera to photograph clothing for my webshop?
No. A recent smartphone with good lighting and a tripod is enough for most webshops. Consistent light and a clean background matter more than the camera itself.
Can I use AI photography without booking a model?
Yes, that's exactly the idea. You upload one photo of the garment and pick one of the 40 in-house models. There's no photoshoot, no model on location, and no studio involved.
Do I need to ship my garment in for AI photography?
No, you don't ship anything. You take a photo of the garment yourself, at home or in your warehouse, and upload that. The real garment is placed on the model, not redrawn or recreated.
Is AI photography recognizable as AI to customers?
Images get an AI label under the EU AI Act, so it's fully transparent. Customers can see it's an AI-generated model photo, while the garment itself is real.
Read more
- Flat lay photography for clothing
- Virtual Fitting Room Ecommerce
- Clothing Product Photography Cost
- Clothing Photoshoot Tips
- Foto's maken voor je webshop
- Kleding fotograferen voor je webshop
- Model photos
- FashionPix — The signature of your webshop
Start small, grow from there
You don't have to reshoot your entire collection all at once. Start with a few products, test what works, and build from there. FashionPix lets you try six images for free, no account needed, so you can see for yourself whether AI photography fits your webshop before you go any further.