Clothing Photoshoot Tips for Your Webshop: Get It Right
FashionPix · Published 3 juli 2026 · Last updated 4 augustus 2026
The right clothing photoshoot tips for your webshop can make the difference between a visitor who buys and one who bounces. Paying attention to lighting, background, and styling already gets you a big step ahead — and this article shows you exactly how.
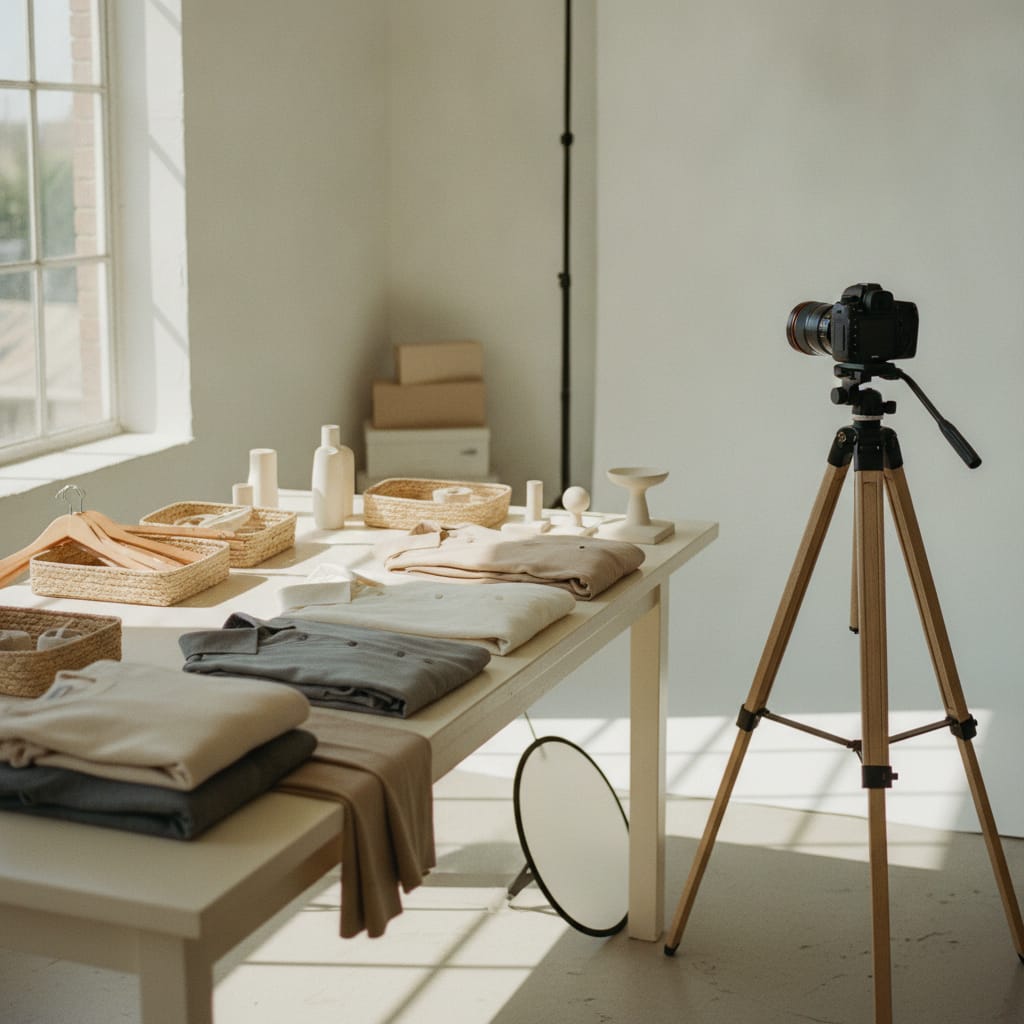
The best clothing photoshoot tips for your webshop
- Diffuse daylight is the most accessible and flattering light source for clothing photos.
- A neutral, distraction-free background keeps the garment front and centre.
- Styling details like ironing, stuffing, and accessories largely determine the final quality.
- The most common mistake is inconsistency: varying lighting and backgrounds hurt your brand experience.
- Once shooting photos costs more time than it's worth, one upload to FashionPix is the logical next step.
What's the best lighting for a clothing photoshoot?
Diffuse daylight — next to a large window on an overcast day — creates soft shadows and shows texture and colour most naturally. Artificial light works too, but requires a consistent colour temperature around 5500 K and at least two light sources to avoid harsh shadows.
Daylight is free and forgiving. Set up your garment or model next to a north- or east-facing window, and use a white sheet of cardboard or a foldable reflector on the shadow side to bounce light back. This prevents dark patches in folds and seams.
Avoid direct sunlight: it creates harsh contrast and washes out colours. Cover the window with a white curtain or a sheet of white paper if needed. If you're working with artificial light, choose LED lights with a high CRI rating (90+) so colours match reality on screen.
Consistency matters just as much as quality. Always shoot at the same time of day, with the same settings and the same lighting setup. That way, all your product pages look cohesive, which builds visitor trust.
- Use diffuse daylight or LEDs with CRI 90+
- Reflector or white cardboard on the shadow side
- Keep colour temperature consistent (±5500 K)
- Never mix daylight and artificial light at once
Which background should you choose?
A flat, light background — white, light grey, or soft beige — is the safest choice for product photos. It doesn't distract from the garment and fits most webshop layouts. If you want more atmosphere, a subtle lifestyle setting works well, as long as you keep it consistent.
A white background looks professional and is easy to touch up in editing software. Use a seamless paper roll or a tightly stretched piece of fabric. Make sure the background is actually white, not yellowish — that gives itself away instantly on screen. More on the requirements platforms set can be found at product photo on a white background.
Lifestyle backgrounds — a wooden floor, a concrete wall, a green outdoor setting — can strengthen your brand if used consistently. The pitfall is that they distract from the product itself. Use them as a complement to the standard white product photo, not a replacement.
Also leave enough distance between the garment and the background. This prevents shadows falling on the background and keeps post-processing simple. A distance of half a metre to a metre is usually enough.
- White or light grey for standard product photos
- Lifestyle setting as a complement, not a replacement
- Enough distance from the background for shadow-free images
- Consistency over variety
How do you style clothing for the best webshop photos?
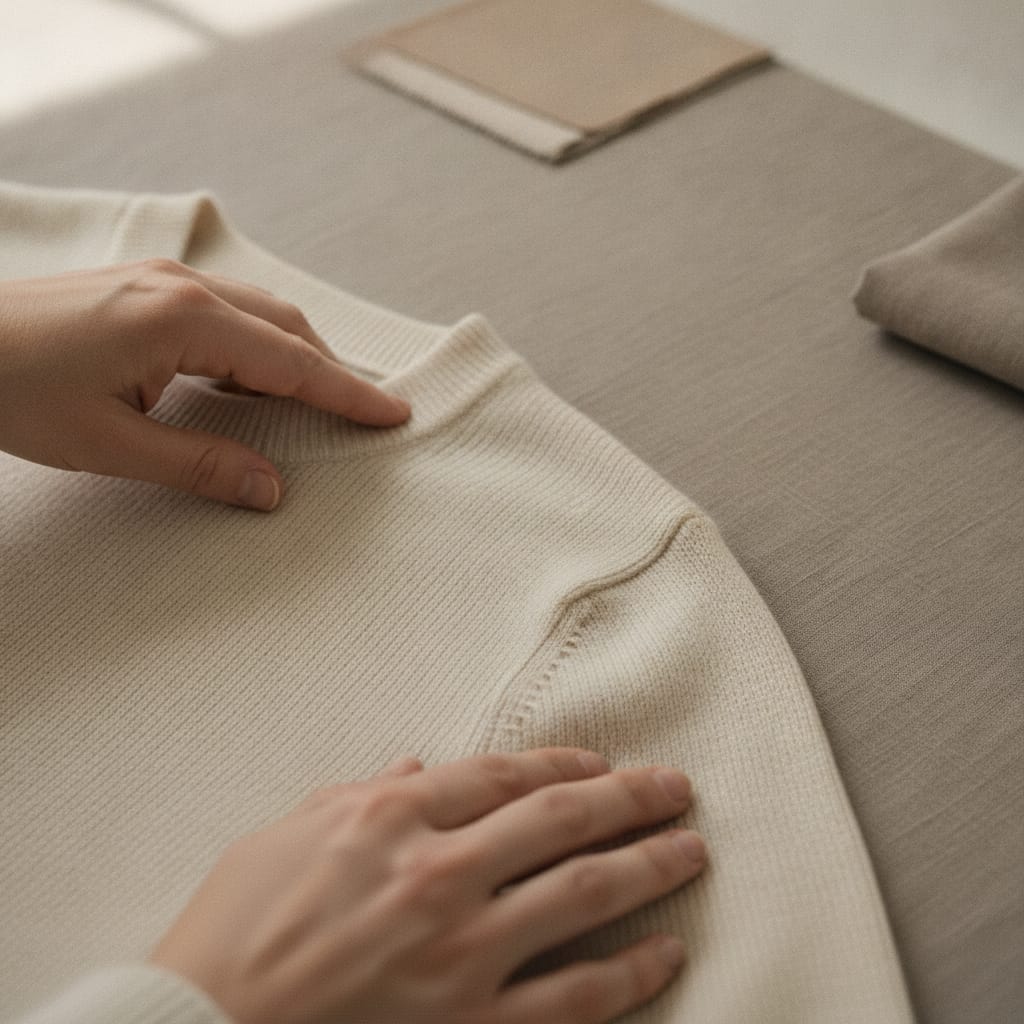
Iron or steam every garment before shooting. Fill out loose items with tissue paper or a mannequin to show the shape. Small details — a folded-over collar, a visible zipper — determine whether a photo looks polished or sloppy.
Styling starts before the shot. Check every garment for lint, loose threads, and wrinkles. A lint roller and a steamer are essential tools. This sounds obvious, but in practice these steps get skipped regularly when time is tight.
On a flat surface, stuffing with tissue paper or cardboard gives the garment volume and structure. For photos on a mannequin or model, fit is what matters most: make sure the garment sits well and use tailoring pins at the back if needed to take up excess fabric.
Accessories can bring an outfit to life, but keep it minimal. A belt, a pair of shoes, or a bag that matches the collection enhances the experience without distracting. Just make sure accessories are used consistently, so your webshop's style stays recognisable.
Don't forget the details either: a close-up of a fabric texture, a label, or a distinctive seam gives visitors extra information and builds trust. Many webshops miss this opportunity.
- Iron or steam every item before shooting
- Stuffing for volume in flat-lay shots
- Tailoring pins for a tight fit at the back
- Detail shots of fabric, seams, and labels
What mistakes do webshop owners make most often?
The most common mistakes are inconsistent lighting, a cluttered background, and insufficient attention to styling. On top of that, many webshop owners shoot at too low a resolution or skip post-processing altogether, so colours don't match the real product.
Inconsistency is the silent killer of a webshop's look. If one photo is warm and another cool, or if backgrounds vary from product to product, the shop looks unpolished. Visitors notice this subconsciously and bounce more quickly.
Another common mistake is shooting with a smartphone camera on automatic settings and hoping for the best. Modern smartphones take excellent photos, but only if you lock the exposure manually and ensure a stable shot using a tripod or a solid surface.
Finally, many owners underestimate post-processing. A basic edit — correcting white balance, slightly boosting contrast, evening out the background — makes the difference between an amateur and a professional photo.
- Inconsistent lighting and backgrounds per product
- Automatic smartphone settings without a tripod
- No or insufficient post-processing
- Too little attention to styling before the shot
- Low resolution that makes zooming in impossible
When is it smarter to outsource it?
Outsourcing pays off once the time you spend shooting and editing is worth more than the cost of a specialised service. You'll hit that point sooner than you'd think, especially with a growing product range or if consistency and speed are your priority.
Shooting it yourself has its perks: full control, you get to know your product better, and the barrier to entry is low. But it takes time — from styling and shooting to editing and uploading. For a small collection of ten to twenty products, that's manageable. With a hundred or more items, it quickly becomes a full day's job.
There are also situations where the quality leap is immediately obvious. Think of products with complex textures like lace or leather, collections where colour accuracy is crucial, or a rebrand where you want to refresh your entire visual language.
FashionPix Studio is built for webshops that need professional clothing photos, fast and consistent. You don't send anything anywhere: you upload the photo you were going to take anyway — even with your phone if needed — and get back model shots, a pack shot, and the copy. That doesn't just save time, it also creates a uniform look that's hard to achieve when shooting yourself under varying conditions. Find out how that works on the shop floor at photographing clothes with your phone.
So the question isn't whether you can apply these tips yourself — you certainly can — but whether it's the best use of your time.
How to set up a simple clothing photoshoot
- Prepare the garment. Iron or steam the garment and remove lint and loose threads. Also check labels and seams for visible irregularities.
- Set up your lighting. Choose a spot next to a large window with diffuse daylight. Place a white reflector or a sheet of cardboard on the opposite side to fill in shadows.
- Set your background. Use a seamless white or light grey background. Leave at least half a metre of distance between the garment and the background.
- Lock exposure and white balance. Use a tripod or place your smartphone on a stable surface. Lock the exposure manually and set the white balance to 'cloudy' or 'daylight'.
- Take multiple shots. Photograph the garment from the front, back, and side. Add a detail shot of the fabric, a seam, or a distinctive feature.
- Edit the photos consistently. Correct the white balance, even out the background, and slightly adjust the contrast. Use the same editing settings for every photo in the collection.
- Users decide within a few seconds whether a product page looks trustworthy, with visual quality playing a decisive role. — Nielsen Norman Group
- The international standard for colour temperature in product photography is 5000–5500 Kelvin (D50/D55), per ISO 3664, to guarantee colour accuracy between capture and display. — ISO 3664
- A high Color Rendering Index (CRI of 90 or higher) for artificial light ensures colours in the photo match the garment's actual colour more accurately. — ISO / CIE
Frequently asked questions
Can I take good clothing photos with just a smartphone?
Yes, modern smartphones are good enough for webshop photography, as long as you lock the exposure manually, use a tripod, and edit the photos afterwards. The camera is rarely the limiting factor — lighting and styling are far more often the issue.
How do I make sure colours in the photo match the real product?
Use light with a high CRI rating (90+) or diffuse daylight, set the white balance manually, and edit on a calibrated screen. Colour mismatches lead to more returns, so it's worth getting this right.
Flat lay or photo on a mannequin — which works better?
It depends on the garment and your target audience. A flat lay works well for accessories and items with an interesting print. A mannequin or model shows fit and volume better, which is generally preferable for clothing. Combine both for the best result.
How many photos per product do I need?
A minimum of three to four photos per product is recommended: front, back, a side view, and a detail shot. The more visual information you provide, the less doubt the visitor has — and the smaller the chance of a return.
Read more
- Clothing photography for your webshop
- Optimize product photo SEO
- Increase conversion with better product photos
- Editing clothing photos
- Foto's maken voor je webshop
- Kleding fotograferen voor je webshop
- Model photos
- FashionPix — The signature of your webshop
Prefer instant results without the hassle?
If you notice the photoshoot is costing you more time than it's worth: one upload and you get the whole set back. Six images are free, no account and no credit card needed.