Jewelry Product Photography: How to Get Sharp, Sellable Shots
FashionPix · Published 29 augustus 2026 · Last updated 4 augustus 2026
Jewelry is small, shiny, and tricky to photograph. Get the lighting wrong and your ring suddenly looks like a cheap prop. This article shows you how to shoot jewelry photos that look just as good as the real thing.
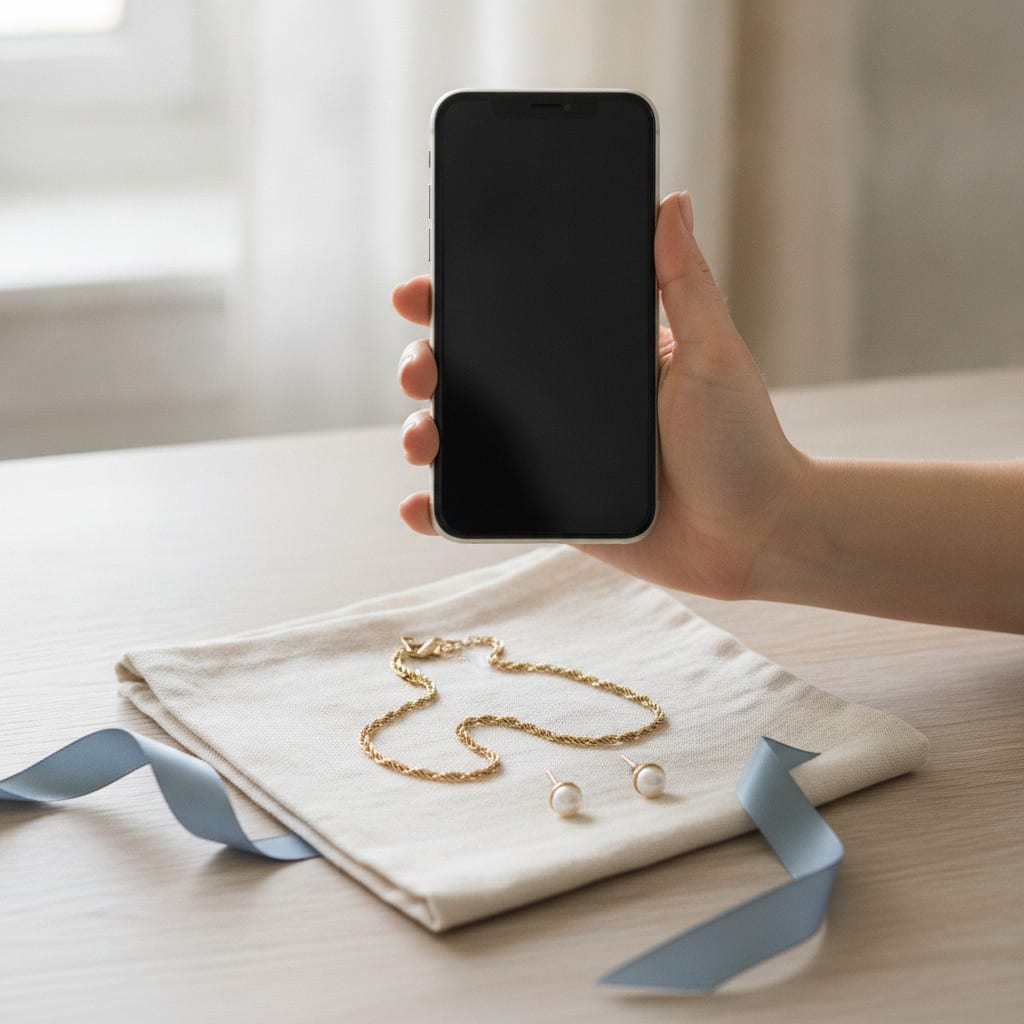
Jewelry Product Photography: The Complete Guide to Sharp, Sellable Images
- Jewelry photography calls for different lighting and setup than shooting clothing.
- Macro settings and soft, diffused light prevent distracting reflections on metal and gemstones.
- A neutral background lets the jewelry speak for itself and works best for webshops.
- Model shots help customers judge size and overall effect.
- With AI model photos, you get those worn shots without booking a photoshoot, model, or studio.
Why is jewelry photography so hard to get right?
Jewelry photography is tricky because metal, gemstones, and shine reflect light in unpredictable ways. What looks great to your eye often doesn't translate through a camera lens. The result: blotchy highlights, a dull-looking necklace, or a ring that looks flat and lifeless. Size adds another layer of difficulty. A two-centimeter ring needs to look big and sharp on your product page, and that demands different techniques than photographing a sweater.
When shooting regular clothing, you're working with surfaces that scatter light: fabric absorbs and softens it. Jewelry does the opposite. It bounces light back, and that's exactly what makes reflections, shadow edges, and focus so unpredictable. A cheap lamp or a window with harsh sunlight can quickly create a white blob right in the middle of your diamond.
Scale matters too. With a dress, you can get away with a few millimeters of softness; with an earring, you'll notice it instantly. Your camera needs to focus closer than it would for standard product photography, which calls for a macro lens or macro setting on your phone.
In short: you're dealing with a small object, plenty of reflection, and high demands on sharpness. That's exactly why many webshops treat jewelry photography differently from the rest of their product range. For the full breakdown, check out the page on jewelry photography.
What's the best lighting setup for jewelry photos?
Soft, diffused light from multiple angles works best for jewelry photos. Avoid direct sunlight or a bare lamp: they create harsh, hard reflections on metal. Instead, use a lightbox, a softbox, or simply shoot near a window on a cloudy day. The goal is light that falls evenly across the piece, without sharp shadow edges.
A lightbox is the quickest solution if you're shooting at home. Place the jewelry inside, add one or two lamps on the sides, and the light spreads naturally. No lightbox? A piece of white cardboard works well as a reflector too: place it next to the jewelry to fill in shadows.
Pay attention to the angle of your light. Light coming straight from above often results in a flat photo with no depth. Light from the side, combined with a reflector on the other side, gives the jewelry volume and shine without overexposed spots.
Always test different angles before taking your final shot. Rotate the piece a few degrees and watch what happens to the highlights. With gemstone rings, one angle might create a distracting white blob, while another angle brings out a beautiful sparkle.
- Use a lightbox or softbox instead of direct light
- Work with two light sources to fill in shadows
- Use a white piece of cardboard as a cheap reflector
- Avoid harsh spotlights directly above the jewelry
- Rotate the piece and test multiple angles
- Preferably shoot on an overcast day with natural light
What background works best for jewelry photos?
A plain, neutral background works best for jewelry photos on your webshop. White or light grey keeps all the attention on the jewelry itself, without distractions. For your main product photo, this is almost always the safest choice, especially since marketplaces like Bol.com and Amazon often require a white background.
For extra lifestyle shots, you can mix things up. A velvet cloth, a piece of marble, or a natural wood surface gives your product character and suits a more luxurious feel. Just make sure the background doesn't compete with the jewelry itself: too much pattern or shine becomes distracting.
Watch your color contrast too. A gold necklace pops against a white background, but it can disappear on a pale yellow surface. Silver jewelry, meanwhile, tends to blend into a grey background because the contrast gets too low.
When in doubt, just try a few options and see which combination sells best. Many webshops test two or three backgrounds per collection and stick with whichever performs best in clicks and conversions.
Do you need a macro lens for jewelry photos?
A macro lens isn't required, but it's highly recommended for sharp close-ups of small jewelry. Many smartphones now have a macro mode that works surprisingly well for necklaces, rings, and earrings. Want to go more professional? A macro lens on a DSLR or mirrorless camera gives you that extra bit of sharpness and detail.
The big advantage of a macro lens is that you can get closer without losing sharpness. With a regular lens, you have to stay further away from the object, which means cropping in afterward. That costs resolution, and therefore sharpness, in your final image.
Without a macro lens, you can still get good results using a tripod and a slightly longer shutter speed, combined with a self-timer to avoid camera shake. That helps make up for not having a true macro setup.
For most small webshops, a phone with macro mode and a solid tripod is plenty. If you're shooting larger volumes or selling across multiple platforms, investing in a macro lens pays off faster.
Do you need a model for jewelry photos?
No, a model isn't required, but worn shots often sell better than standalone product photos. Customers want to see how a necklace sits on a neck or how big a ring actually looks on a hand. Without that context, buyers have to guess, which leads to hesitation and more returns for jewelry sent by mail.
Traditionally, this means booking a photoshoot with a model, renting a studio, and hours of planning. For a small jewelry brand, that's often unaffordable per collection, especially if you're regularly adding new pieces.
With AI photography, you can skip all that. At FashionPix, you upload one photo of your jewelry piece and choose from 40 in-house models aged 3 to 64. The real jewelry gets transferred onto the model, not redrawn, so the shape and color stay accurate. You don't ship anything, you just upload a photo and the rest happens automatically.
That way, you get worn shots within minutes showing how a necklace falls or how a ring sits on a hand, without a photographer, studio, or planning. A complete article with images and copy in four languages costs 4 credits, roughly 1.30 euros. Want to see how it works first? Try six images for free without creating an account.
- Worn shots show size and scale better than standalone product photos
- Less doubt for the customer means fewer returns
- A physical photoshoot costs time and requires booking a model
- AI model photos transfer the real jewelry onto a model
- Try six images for free without an account
What technical settings should you use for sharp jewelry photos?
For sharp jewelry photos, work with a small aperture opening like f/8 to f/11, a low ISO value, and a tripod to prevent camera shake. This combination gives you enough depth of field so the whole piece is sharp, not just the front edge. A tripod isn't a luxury in macro photography, it's a necessity: at close range, even the tiniest movement massively increases blur.
Focus manually instead of relying on autofocus. In macro shots, cameras often struggle to lock onto exactly the right point, especially with shiny metal. Zoom in digitally on your screen to check that the details are truly sharp before moving on.
Shoot in RAW format if your camera supports it. That gives you more room to adjust color temperature and exposure afterward without losing quality, which you'll often need with shiny materials.
Take multiple shots of each piece from different angles and with different exposures. Pick the best one afterward instead of relying on a single perfect shot. With jewelry, it really pays off to shoot ten times more than you'll actually use.
- Aperture between f/8 and f/11 for enough depth of field
- Low ISO to avoid noise
- Always use a tripod
- Manual focus instead of autofocus
- Shoot in RAW for more editing flexibility
How do you edit jewelry photos for your webshop?
When editing jewelry photos, you remove dust and fingerprints, correct the white balance, and crop the background tightly. Metal and gemstones show every speck of dust, so proper cleanup often makes more difference than an expensive camera. Make sure colors are accurate: gold should look gold, not orange, and silver shouldn't take on a blue tint from a wrong white balance.
Use editing software to make the background fully white or transparent if your platform requires it. Just be careful not to smooth or polish the jewelry itself too much: an overly perfected photo quickly looks fake and can make shoppers suspicious.
Also add clear size details to your product page, such as a ring's diameter or a necklace's length. Customers can't try jewelry on the way they can with clothing, so that information makes up for what the photo can't show.
Want to skip this whole process? A tool like FashionPix handles the editing automatically. With a complete article, you don't just get the images, you also get alt text, size details, and the mandatory AI labeling required under the EU AI Act. That means no more wrestling with editing software yourself.
Frequently asked questions
Can I shoot jewelry photos with just my phone?
Yes, many modern phones have a macro mode that's good enough for webshop photos. Just make sure you use a tripod and diffused light, that makes more difference than the camera itself.
How many photos do I need per piece of jewelry?
Plan on at least three to five photos per product: a front, side, and detail shot, and ideally a worn shot too. That gives customers a complete picture of shape, size, and shine.
Why do my jewelry photos look dull?
This usually comes down to bad lighting: too little, too harsh, or from the wrong angle. Diffused light from multiple directions gives metal and gemstones a natural shine without harsh reflections.
Do I need a studio for good jewelry photos?
No, a lightbox on your kitchen table is often enough. A studio only really pays off with large volumes or when you need consistent lighting across hundreds of products.
Read more
- Photographing jewelry
- Photographing clothing for webshop
- Flat lay photography for clothing
- Virtual Fitting Room Ecommerce
- Product fotografie kleding
- Packshot
- FashionPix — The signature of your webshop
Start small, improve as you go
You don't need everything perfect right away. Start with good lighting and a sharp lens, then check whether worn shots boost your conversions. With FashionPix, you can still get professional images fast without a photoshoot: upload one photo of your jewelry, pick a model, and the rest takes care of itself.