Realistic AI model photos: where it goes wrong and how to prevent it
Marcel Timmerman · Published 8 augustus 2026
Everyone recognises bad AI imagery, even people who can't quite say why it's off. The tell-tale signs are surprisingly consistent: hands, labels, prints, zippers, shadows. The good news: most mistakes don't happen in the engine but in the input — which means they're preventable. Here's the list of eight, plus the check you run before you publish.
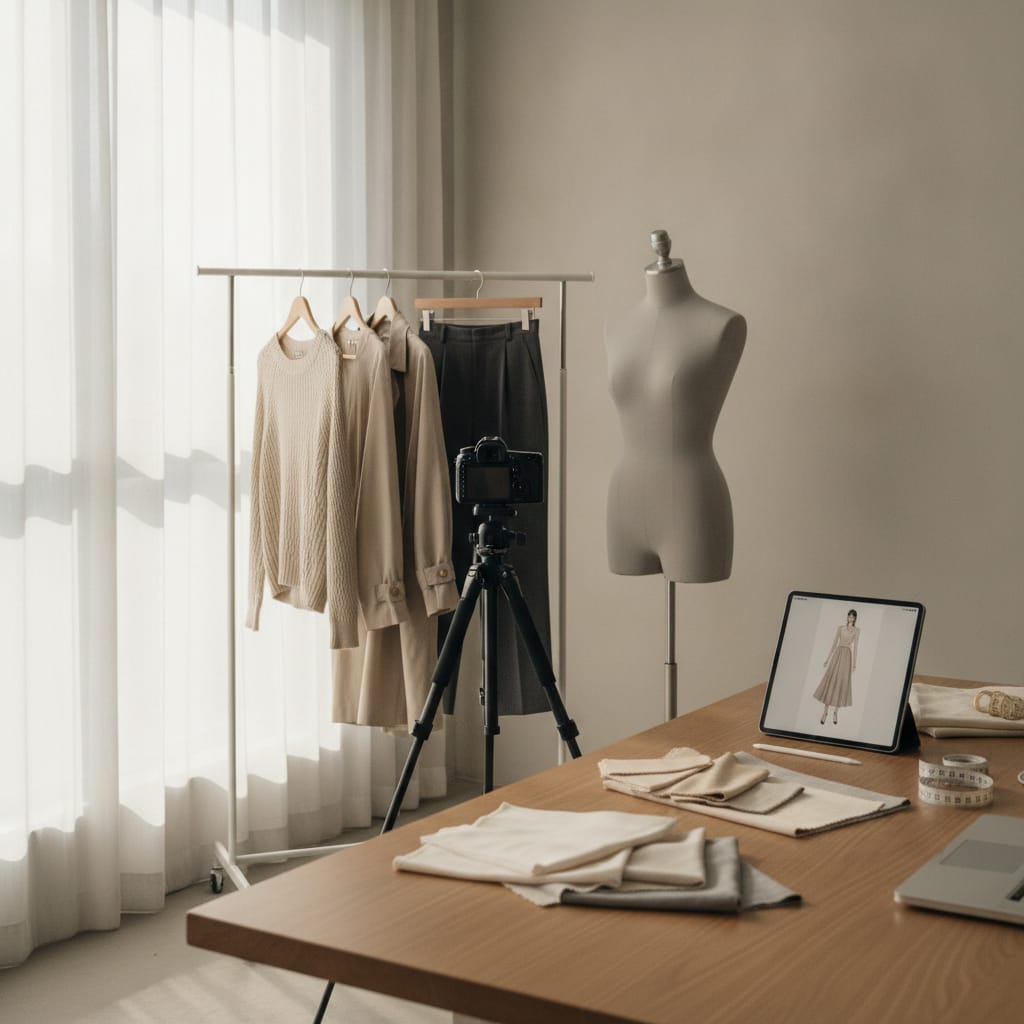
The eight tell-tale signs of AI images — and the checklist
- The classics sit in the anatomy: hands, fingers, ears and teeth — small, complex shapes where generation slips up first.
- The clothing mistakes are more commercially damaging: missing buttons, distorted prints and mirrored logos make an image unusable as a product photo.
- Lighting that doesn't match the background gives away a composite image, even when every individual part looks fine on its own.
- Your upload photo determines the outcome: sharp, the entire garment in shot, on a calm background — what the engine can't see, it can't carry over.
- Never publish without running the checklist: colour, print, closure, length, hands, shadow.
The anatomy classics: hands, fingers, ears, teeth
The most notorious AI mistakes sit in the small anatomy. Six-fingered hands have become rarer, but soft, waxy-looking fingers, oddly bent thumbs and ears without detail still crop up — especially in poses where the hands appear small in frame.
The reason is technical but the lesson is practical: complex small shapes are the weak spot of every image engine. So choose poses where the hands are relaxed and visible (down by the body, in a pocket) rather than half-hidden or clenched — and always check them explicitly when reviewing.
Teeth and eyes are the second checkpoint: a neutral, relaxed expression almost always turns out fine; a wide smile with visible teeth goes wrong more often. For product photography, neutral is the standard anyway — the face shouldn't compete with the garment for attention.
If you work with a fixed cast, this problem is largely solved upfront: the models were built and checked carefully once, and every product photo reuses that verified image instead of inventing a new person each time.
The clothing mistakes: what actually gets a product photo rejected
For a webshop, clothing mistakes are worse than anatomical ones — because the garment is the product. The notorious three: buttons that disappear or shift position, prints that distort or shift, and logos or text that get mirrored or garbled.
These mistakes share one root cause: the engine is redrawing the garment instead of transferring it. A generator that creates "a blue shirt like this one" reinvents the row of buttons — and sometimes gets it wrong. An engine that transfers the actual garment from your photo can't make that mistake: the buttons in the image are the buttons from your photo.
A subtler variant is the closure error: a dress without a zip suddenly gets one, or a zip disappears entirely. Zips, pockets and belts also need to carry over exactly — check them one by one, because a customer who receives a different closure than they saw will send it back.
And watch consistency within a set: if the front view and back view of the same item each show a slightly different sweater (different stripe width, different collar), that's just as confusing for the buyer as one bad image. Good tools lock the interpretation per item, so every image in the set shows the same garment.
- Buttons: compare number and position against the source
- Prints and logos: check for distortion and mirroring
- Closures: no zip added, no zip removed
- Within the set: every view must show the same garment
Light and shadow: how a composite image gives itself away
The third family of mistakes is subtler: lighting that doesn't add up. A model lit from the left against a background where the sun comes from the right, a cast shadow missing where it should be, or two shadows pointing in different directions — the eye registers it as "fake" without being able to say why.
This mostly happens with images where the model and background come from different sources, like lifestyle shots on location. Always check such images for light direction: does the light hit the model from the same angle as the surroundings, and does the shadow at the feet make sense?
For catalogue imagery, the solution is structural: a flat studio background with even lighting has no light direction to clash with. That's one reason — alongside comparability — why neutral-background product photos are the standard.
Colour cast is this problem's little sibling: warm ambient light that shifts the colour of the item. Lovely for a lifestyle shot, wrong for a product photo — the colour promise needs to be made under neutral light. See also reducing returns with imagery.
Your upload photo determines the outcome — and the checklist before publishing
The most misunderstood truth about AI product photography: the quality of the result is largely determined before generation, by the upload photo. What the camera didn't capture, the engine can't transfer — a folded sweater loses its bottom half to guesswork, a cropped pair of trousers loses its hem.
The rules for a good upload photo are simple: the entire garment in frame (laid flat or on a hanger, not folded), sharp, in daylight, on a calm background with contrast against the garment. A white blouse on a white sheet is a puzzle for any engine.
Photograph special details separately: the back if there's a print or closure there, the label for material and size. Every extra photo is information the engine doesn't have to guess.
And then the checklist, every time, before publishing: (1) colour matches the item, (2) print and logos correct and not mirrored, (3) buttons and closures match, (4) length is correct, (5) hands and face look natural, (6) shadow and light are consistent. Six checks, thirty seconds — and it saves you exactly the images that cost you your reputation. For the full route, see the AI photoshoot for clothing.
- Entire garment in frame, not folded, not cropped
- Sharp, daylight, calm background with contrast
- Photograph the back and label separately
- Checklist: colour · print · closure · length · hands · shadow
Frequently asked questions
How do I quickly tell if an AI model photo is usable?
Run the six-point check: colour, print, closure, length, hands, shadow. Anything that fails a check within thirty seconds doesn't get published. Most unusable images already fail on point two or three.
Why do prints so often come out wrong in AI images?
Because many tools redraw the garment instead of transferring it — the print gets reinvented and ends up shifted or distorted. Choose a tool that transfers the actual garment from your photo; then the print in the image is the print from your photo.
What's the single biggest improvement I can make myself?
Your upload photo: the whole garment, sharp, laid flat or hanging, on a contrasting background. It sounds basic, but it matters more than any setting — what the camera doesn't see, the engine has to guess.
Do images ever fail, and what happens then?
Yes — every image engine has the occasional miss, and a decent supplier should handle that fairly. At FashionPix, you don't pay for failed images: the credits are refunded automatically.
Written with the help of AI and reviewed by Marcel Timmerman, founder of FashionPix.
Read more
- Plan a collection photoshoot
- Using Your Supplier's Photos
- Flat lay photography for clothing
- Virtual Fitting Room Ecommerce
- Productfoto’s met model zonder fotoshoot
- Product fotografie kleding
- Your own model
- FashionPix — Product photos, video and copy for your fashion webshop
Images that pass the check?
The actual garment transferred, a verified fixed cast, and automatic refunds for any miss. Your first model photo is free, no account needed.