Planning a collection photoshoot that actually makes the launch
Marcel Timmerman · Published 8 augustus 2026 · Last updated 25 September 2026
Every seasonal collection runs the same race: items arrive late, the shoot still needs to happen, and the launch date is fixed. This playbook works backward from your launch date, defines exactly what imagery each item needs, and shows where AI imagery shaves weeks off your planning — starting with photographing samples before stock even arrives.
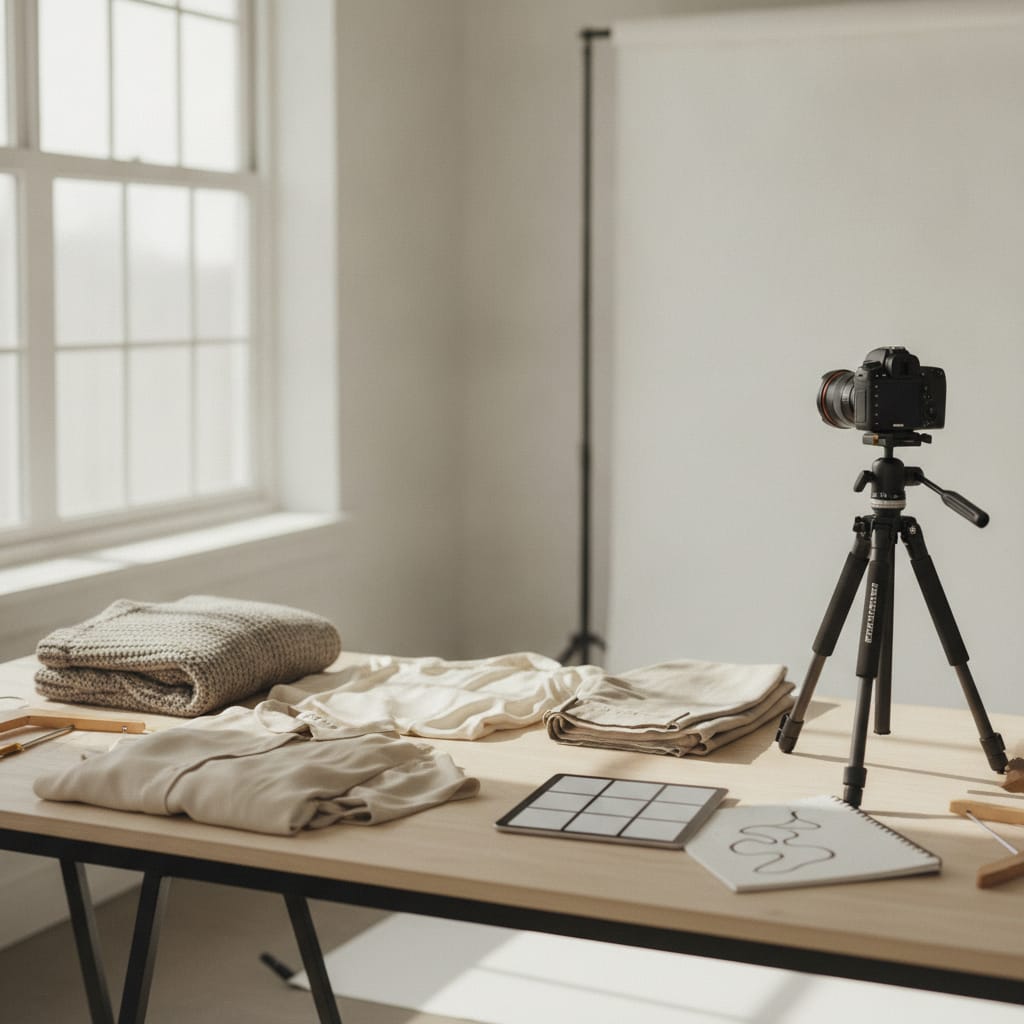
The playbook: working backward from launch day to today
- Work backward from your launch date: publishing, review, image production, briefing — and put the deadlines on the calendar before the season starts.
- The shoot brief defines what images each item needs and what mood each collection has — one document, not scattered chat messages.
- Photographing samples before stock arrives is the biggest time-saver: the imagery is ready the moment the boxes show up.
- Restocks and new colors become a button click with AI imagery instead of a reshoot.
- Assign roles explicitly: who styles and photographs the samples, who reviews, who publishes.
Step 1: work backward from launch day
Start at the end: the day the collection needs to go live. Work back from there: publishing and linking takes a few days, final review of images and copy takes a few more, and image production itself depends on your method — but before all of that comes the brief.
With a classic shoot, the math is unforgiving: booking a photographer and model (two to six weeks ahead), the shoot day itself, then post-production (one to three weeks). All told, the shoot should be locked in six to eight weeks before launch — which clashes constantly with items that arrive late.
With AI imagery, the math shifts: production itself takes minutes per item, so the critical path becomes supplying the source photos. Photographing thirty items (flat lay, on your phone) is a day's work; the image set and copy follow that same week.
Either way, put the milestones on the calendar before the season starts: brief done, source photos done, images done, review done, live. A collection rarely misses its launch because of one big disaster — almost always it's five small days of delay that nobody kept track of.
- Classic route: lock in the shoot 6–8 weeks before launch
- AI route: critical path = source photos, not production
- Milestones: brief → source photos → images → review → live
- Track the small days, not just the big deadline
Step 2: the shoot brief — per item and per collection
The brief is one document with two layers. Per collection: the mood (which light, which setting, which model or cast) — this determines whether the collection reads as one cohesive whole. Per item: which images are needed (model front/back, flat lay, detail, video) and which specific details need to be shown (the back print, the special closure, the lining).
Standardize the item layer: a fixed base set per category stops every single item from turning into a debate. How many images that means and how the set differs per category is covered in how many product photos per product — in short: five to eight, with its own focus per category, like the back view for pants and volume for jackets.
The collection layer is your one chance to choose well and then stop choosing: the fixed model and fixed lighting are what turn a set of products into an actual collection. Anyone who re-decides per item is guaranteed to end up with a messy-looking catalog.
Also define what's *not* included: no lifestyle shots for basics, but yes for the hero pieces; video only for items where movement actually shows something. A brief that tries to do everything for everyone never gets finished.
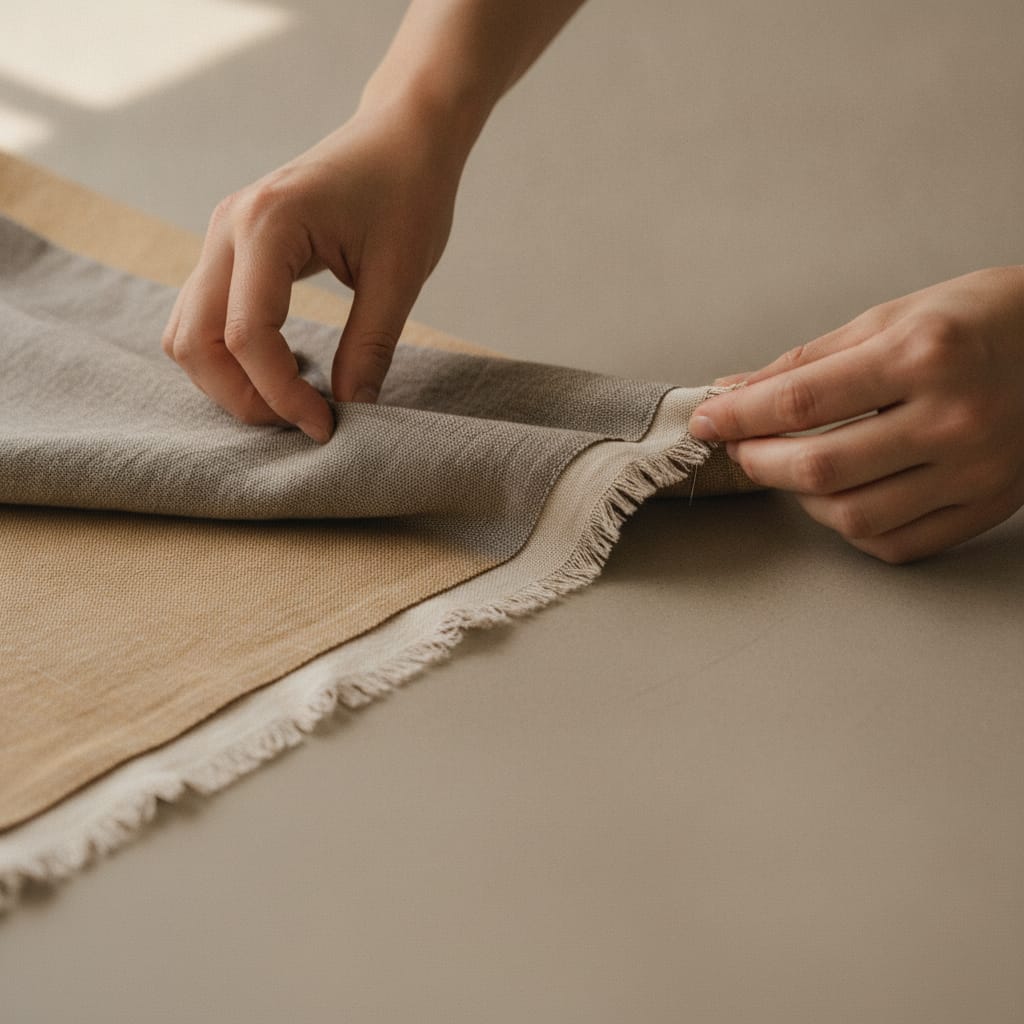
Step 3: photographing samples before stock arrives
The single biggest structural time-saver in the whole playbook: you don't need stock to create the imagery — one sample per item is enough. Manufacturers ship samples weeks before the bulk order; use that week well and you'll have the complete image set and copy ready while the container is still at sea.
In practice: photograph each sample flat or on a hanger, in daylight, front and back, and snap the label too for material and washing instructions. That's a few minutes per item — an afternoon's work for a thirty-item collection.
The AI route makes this even more powerful because the sample immediately produces the final image: the actual garment gets transferred, so the image of the sample *is* the image of the item. With a classic shoot using samples, you just have to hope the bulk order matches exactly what got shot.
If an item still arrives different than expected (a different shade, a different label), that's a redo of a few minutes with a new source photo in the AI workflow — not a hole in your launch.
Steps 4 and 5: restocking without a reshoot, and dividing the roles
After launch is when a collection's real life begins: restocks, new colors, an item that goes viral and deserves extra imagery. Classically that means reshoots — expensive, slow, and the lighting from the reshoot never quite matches the original shoot. With AI imagery, restocking is a button click: a new color (2 credits), an extra pose (1 credit), a video for the bestseller (1 credit) — all in exactly the same style, because the model and lighting *are* the same.
That also changes your strategy: you don't need to create everything at launch. Start with the base set per item and let sales tell you which items deserve expanded imagery and video. Budget follows evidence, instead of the other way around.
Finally, dividing the roles — small but decisive: who styles and photographs the samples (one person, one method, otherwise source quality drifts), who reviews the images and copy before publishing (the six-point check from realistic AI model photos), and who publishes and links everything. Three roles; in a small team that might be three hats on one person, but all three still need to be explicitly assigned.
Run this playbook for one season, and by the second season you've got a template — and the collection launch stops being a race and becomes a routine.
- Restocking after launch: color 2 cr · pose 1 cr · video 1 cr
- Base set at launch, expand where sales prove demand
- Three roles: samples · review · publishing — explicitly assigned
- Season one is the playbook, season two is the routine
Frequently asked questions
When should I start planning for a seasonal launch?
With a classic shoot: eight weeks before your launch date, since you need to book a photographer and model and schedule post-production. With the AI route: as soon as your first samples arrive — image production itself is no longer a bottleneck.
Can I really shoot without having stock on hand?
Yes — one sample per item is enough. Photograph it flat in daylight and the imagery is ready before the bulk order even arrives. Once stock comes in, just double-check it matches the sample; if it differs, a new source photo and redo takes no time at all.
How do I keep multiple collections per year consistent?
By locking in your collection choices — model, lighting, style — once, instead of reinventing them each season. With a fixed (AI) cast that's a given: the model in your summer collection is literally the same one as in winter.
What does imagery cost for a collection of 30 items?
Via the AI route: 30 × 5 credits = 150 credits, roughly €48 — four images plus all copy per item. A classic collection shoot easily runs €2,000 to €3,000 and takes weeks.
Written with the help of AI and reviewed by Marcel Timmerman, founder of FashionPix.
Read more
- Using Your Supplier's Photos
- Flat lay photography for clothing
- Virtual Fitting Room Ecommerce
- Tools die kleding op een model zetten
- The assembly line
- FashionPix — Product photos, video and copy for your fashion webshop
Ready to plan your next collection without the race?
Photograph your samples and the full set is ready before stock even arrives — images and copy both. Your first model photo is free, no account needed.